How to install Microsoft’s System Centre Virtual Machine Manager (SCVMM)

System Centre Virtual Machine Manager (SCVMM)
If you run Microsoft’s Hyper-V as your virtualisation platform rather than the ever popular VMware ESX then you probably want a way to manage your Hyper-V hosts as well as the virtual machines that reside on this. Well you can do a lot of the functions that SCVMM does with the free tool for managing Hyper-V, the Hyper-V Manager (which comes as part of the Windows Operating System).
So if they are similar why would we use System Centre VMM over and above the Hyper-V Manager you ask and have to pay more money to Microsoft?
Well I list out the main differences here to hopefully guide you to a decision before going through the installation process of SCVMM later on down the page.
SCVMM vs Hyper-V Manager Key Differences
Hyper-v Manager
- Can manage the Hyper-V hosts and the virtual machines that reside on it.
- Can manage a single host or multiple Hyper-V hosts that are members of a failover cluster.
- Requires Failover Cluster manager to manage multiple hosts.
- Requires powershell to setup affinity rules.
- No single pane of glass to manage your complete Hyper-V environment which requires you to utilise the Hyper-V Manager console, Failover Cluster console and then powershell to do only some of what SCVMM can do.
System Center Virtual Machine Manager
SCVMM can do all the Hyper-V Manager does from a single console.;
- Configure and manage your datacentre components as a single fabric in SCVMM. (Datacentre components include virtualization servers, networking components, and storage resources.)
- SCVMM can add, provision, and manage Hyper-V and VMware virtualization hosts and clusters. SCVMM can manage VMware ESX servers and its virtual machines in limited capacity. It does however require you to have a VMware vCentre to connect to, to be able to manage your VMware virtual machines.
- Add networking resources to the SCVMM fabric, including network sites defined by IP subnets, virtual LANs (VLANs), logical switches, static IP address and MAC pools.
SCVMM provides network virtualization, including support for creating and manage virtual networks and network gateways. Network virtualization allows multiple tenants to have isolated networks and their own IP address ranges for increased privacy and security.
Using gateways, VMs on virtual networks can connect to physical networks in the same site or in different locations.
- SCVMM can discover, classify, provision, allocate, and assign local and remote storage.
SCVMM supports block storage (fibre channel, iSCSI, and Serial Attached SCSI (SAS) storage area networks (SANs)).
- The SCVMM fabric retains a library of file-based and non file-based resources that are used to create and deploy VMs and services on virtualization hosts.
File-based resources include virtual hard disks, ISO images, and scripts.
Non file-based resources include templates and profiles that are used to standardize the creation of VMs. Library resources are accessed through library shares.
- Integrates with Azure (Though you cannot change settings of the Azure VMs but you can see them and at least stop and start them from your SCVMM console)
The biggest issue with using Hyper-V Manager over System Centre VMM is that it cannot scale to manage large environments, and with having three different consoles (Hyper-V Manager, Failover Cluster Manager and then Powershell) can be quite daunting to use to it’s full ability.
SCVMM Capacity Limits
Planning for your SCVMM deployment is a good practice and you want to make sure to size it right for your environment. The suggested limits of the software Microsoft details for SCVMM deployment are in the table below;
| Entity |
Recommended maximum count |
| Physical hosts |
1000 |
| Virtual Machines |
25000 |
| Services |
1000 |
| User roles |
1000 |
| Clouds |
20 |
| Virtual networks |
2000 |
| logical networks |
20 |
| Library resources |
1000 |
| Library Objects (templates, profiles) |
100 |
SCVMM Limits
Recommended hardware requirements are;
| Hardware |
VMM server |
VMM database |
VMM library |
VMM console |
| Processor (minimum) |
8 core Pentium 4, 2 GHz (x64) |
8 core Pentium 4, 2.8 GHz |
4 core Pentium 4, 2.8 GHz |
2 core Pentium 4, 1 GHz CPU |
| Processor (recommended) |
16-core, 2.66 GHz CPU |
16 core 2.6 GHz CPU |
4 core 2.8 GHz CPU |
2 core 2 GHz CPU |
| RAM (minimum) |
4 GB |
8 GB |
2 GB |
4 GB |
| RAM (recommended) |
16 GB |
16 GB |
4 GB |
4 GB |
| Hard drive (minimum) |
4 GB |
50 GB |
Based on size/amount of stored files |
10 GB |
| Hard drive (recommended) |
10 GB |
200 GB |
Based on size/amount of stored files |
10 GB |
SCVMM Operating System Requirements
The recommended Windows Operating System requirements for SCVMM 2019 are
- Windows 2016 Server Core
- Windows 2016 Full Desktop Experience
- Windows 2019 Server Core
- Windows 2019Full Desktop Experience.
SCVMM Database Requirements
The last piece to the SCVMM puzzle, is the database it requires. Obviously this database is another Microsoft product, SQL Server.
The supported Microsoft SQL database versions for SCVMM 2019 are;
How to install System Centre Virtual Machine Manager.
A step by step guide to install SCVMM.
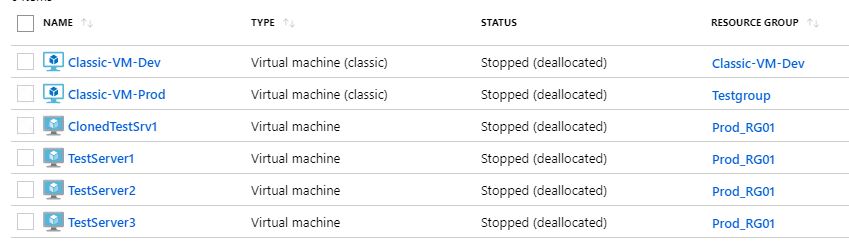
Now that you can see the benefits to installing and using SCVMM to manage your Hyper-V hosts and it’s Virtual Machines. We will now get to the installation part to guide you through the process. I am going to assume here that you already have your Hyper-V hosts up and running and are ready to start your installation. To continue on with this installation guide I will run you through my current infrastructure setup. I have a newly deployed Hyper-V host and have prebuilt some generic virtual machines that are running on it. I am using a demo version of SCVMM which you can download for yourself from the Microsoft site (link here) and I have already predownloaded the files ready to start the installation.
So what are the prerequisites to install SCVVM? Obviously besides the requirements detailed up above, you will need a functioning Hyper-V environment to install the SCVMM on to, as well as administrator access to manage the Hyper-V hosts. As I have downloaded an image from Microsoft and if you are doing the same you will need Domain Administrator access to add the SCVMM Windows server to the domain.
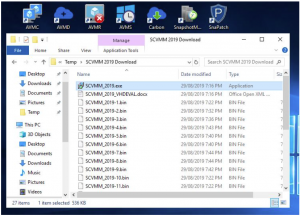
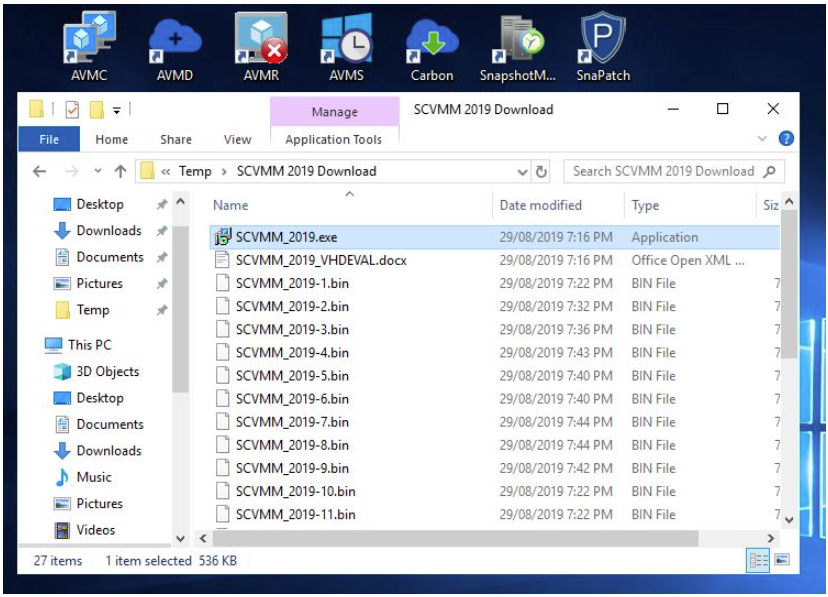
Launch SCVMM Installer
Since the files are downloaded to my location machine, browse to the SCVMM install files through windows explorer. To start the install, just run the Executable file
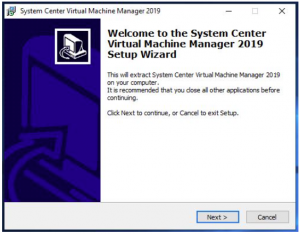
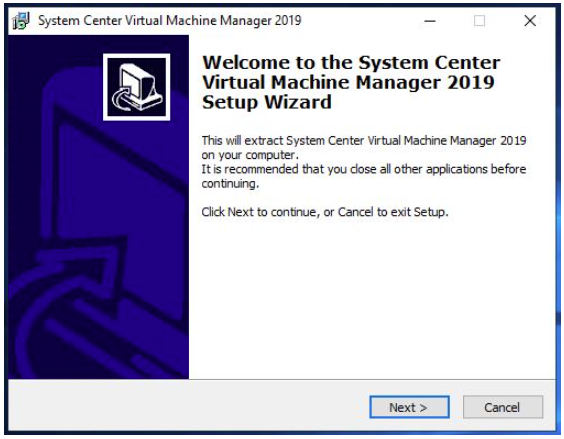
Installing SCVMM
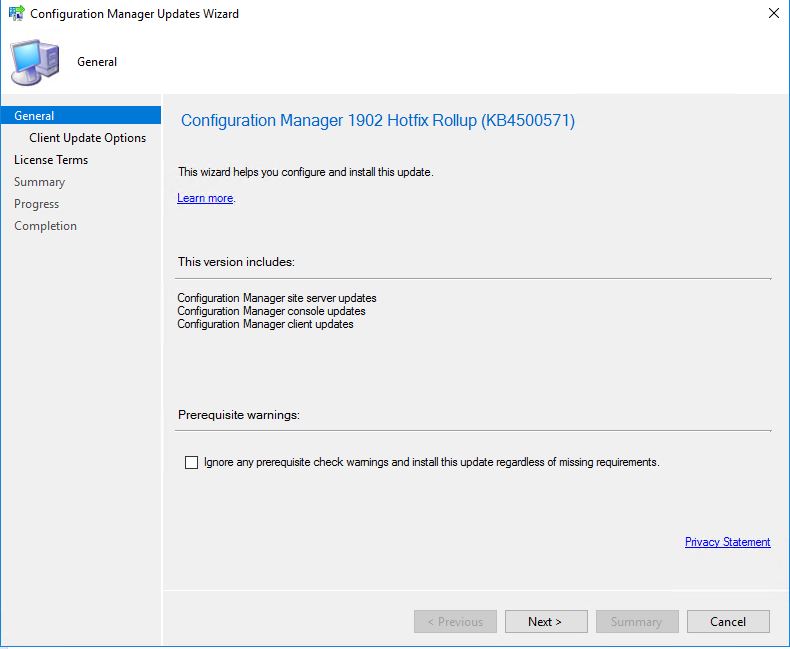
Now the installation starts, click on NEXT on the SCVMM install welcome screen.
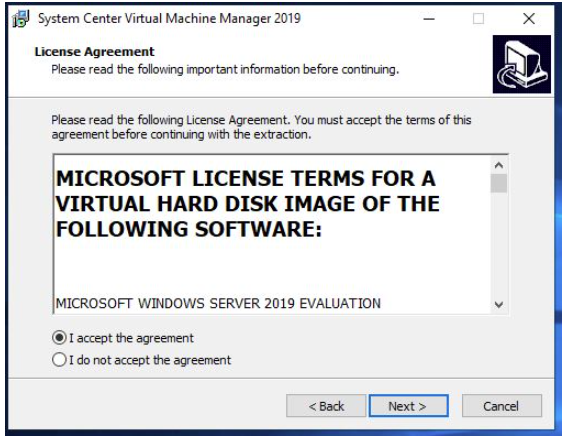
SCVMM License Agreement
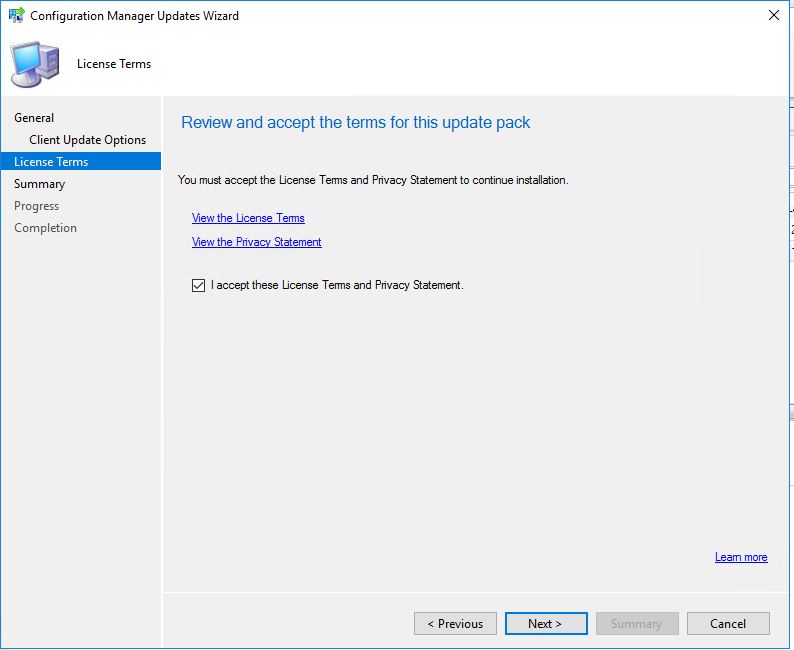
Accept the license agreement (make sure to read them if you wish) and click on NEXT.

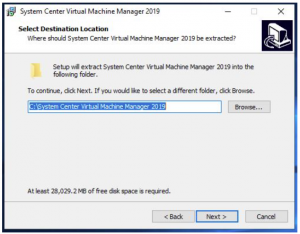
SCVMM Installation Location
The SCVMM install needs to extract the downloaded files. Choose an appropriate folder location and make sure you have enough free disks space (approximately 28GB is needed) then click on NEXT.
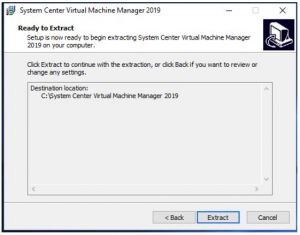
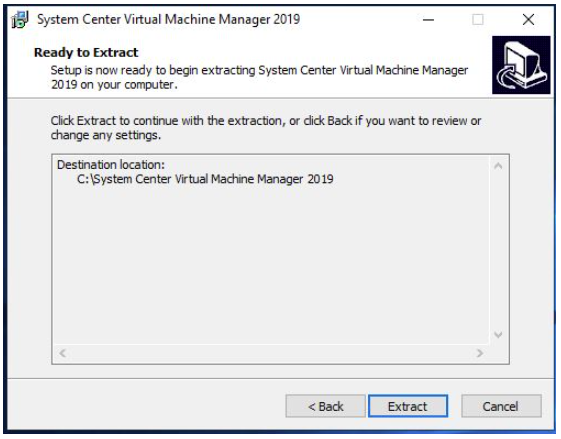
SCVMM File Extraction
You are now ready to extract the SCVMM files needed for the installation. Confirm the settings and folder looks right then click on EXTRACT.
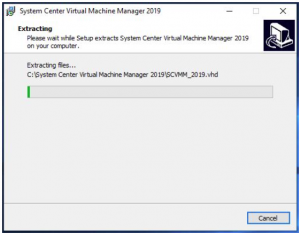
SCVMM Install Extracting
The installation files will now extract from your downloaded media. This will take a little bit of time to complete the extraction process.
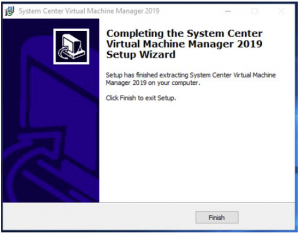
SCVMM File Extraction Completed
Now the extraction of SCVMM is complete. Click on FINISH.
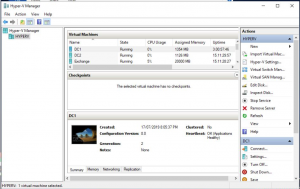
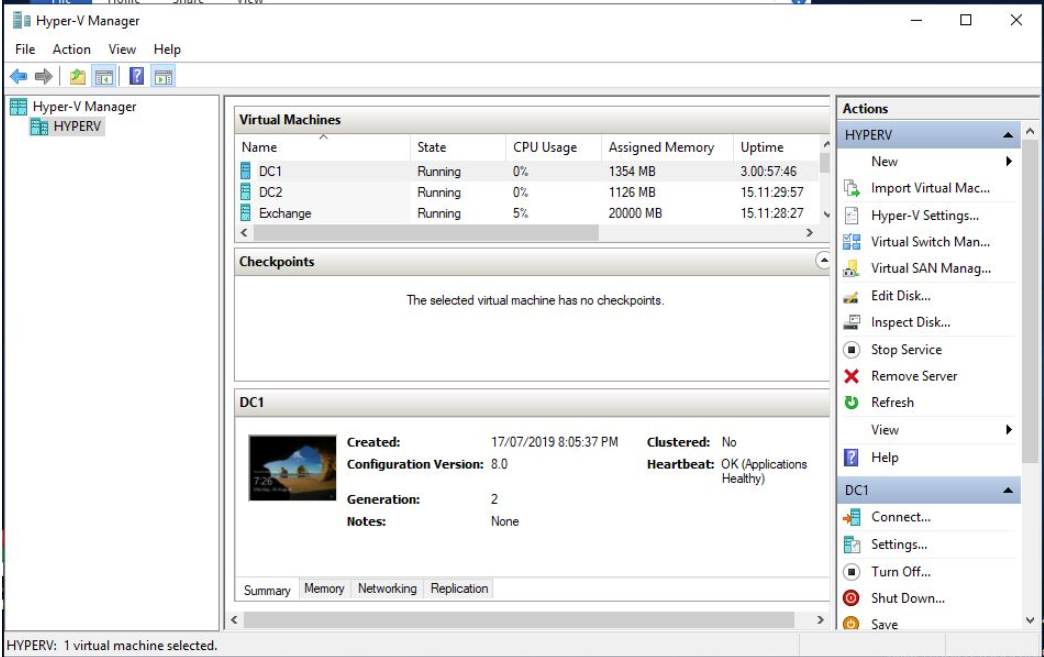
SCVMM Import
Next we need to connect to one of your Hyper-V hosts with the Hyper-V Manager console to start the import of the SCVMM Virtual Machine. Open up your Hyper-V console and connect to your host.
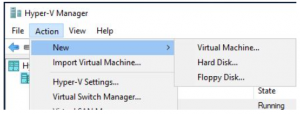
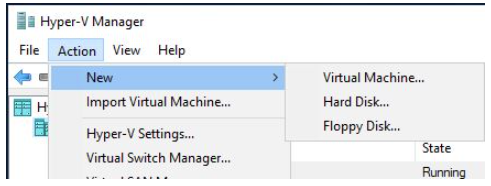
SCVMM New Virtual Machine
We now need to build a new VM for the SCVMM server. Click on ACTION, then NEW, then VIRTUAL MACHINE.
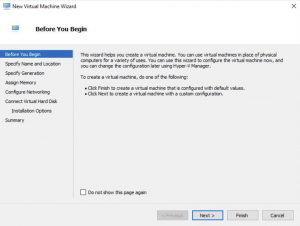
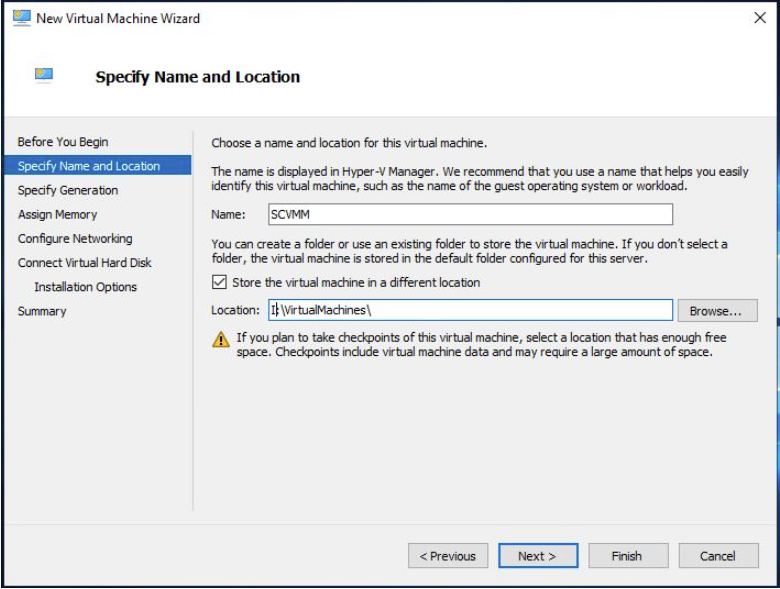
New Virtual Machine Wizard
The New Virtual Machine Wizard starts up, click on NEXT to proceed.
New Virtual Machine Location
On the Specify Name and Location tab give your VM a name and you can choose where to store the VM files. When you have done that click on NEXT.

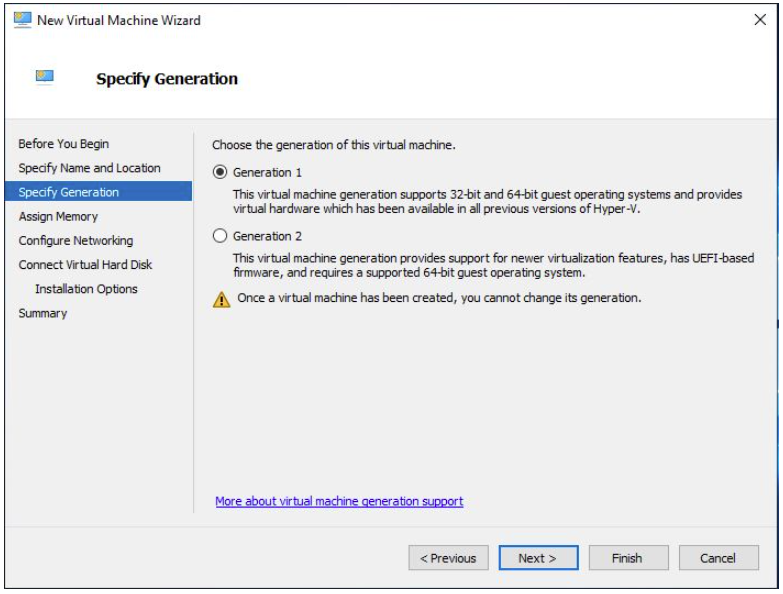
VM Generation Selection
The Specify Generation window, make sure that Generation 1 is selected then click on NEXT

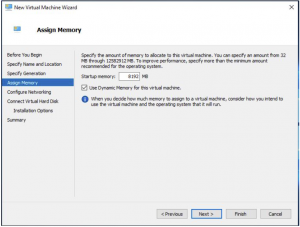
VM Memory Settings for SCVMM
Remember the minimum memory suggested by Microsoft above? Well if you dont, the minimum memory recommended was 4GB so as this is just a lab but I want some performance Im changing that to 8GB. When you have selected the memory size click on NEXT.
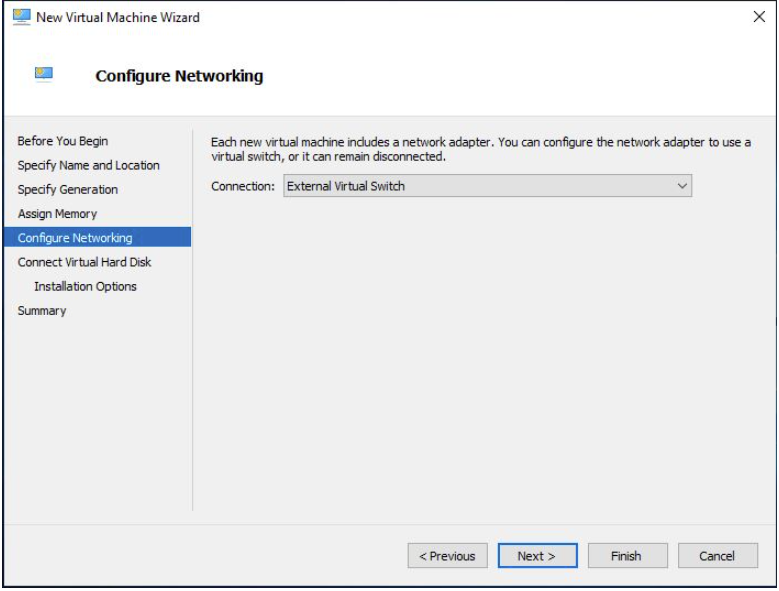
VM Virtual Switch Settings
Choose with virtual switch you want to deploy this VM to then click NEXT.

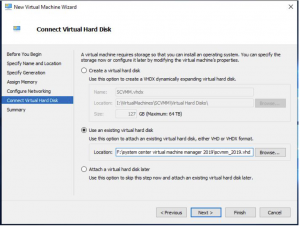
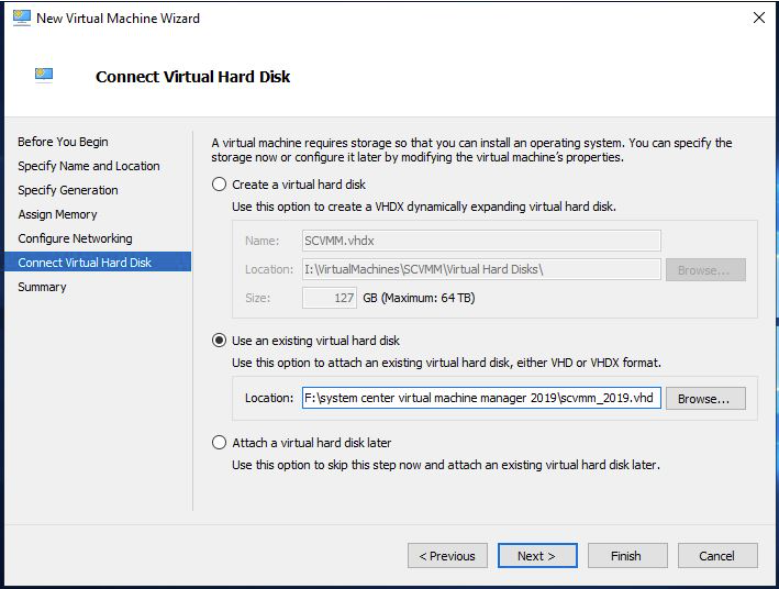
SCVMM Virtual Hard Disk Settings
This is one of the most important parts of the install process, make sure to change the virtual hard disk to Use an existing virtual hard disk and browse to the extracted location of the SCVMM download. When you have done that click NEXT.
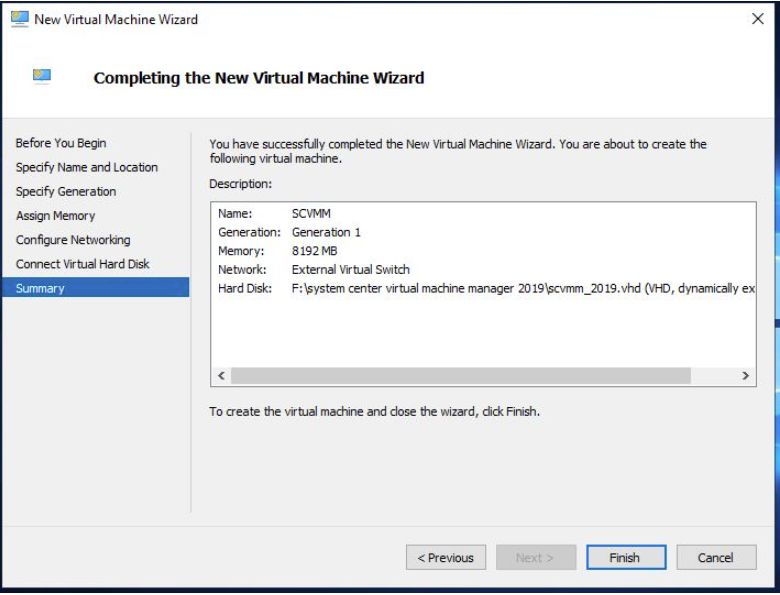
SCVMM VM Deployment
Review everything on the Summary Tab and if you are happy to proceed with the SCVMM deployment click on Finish

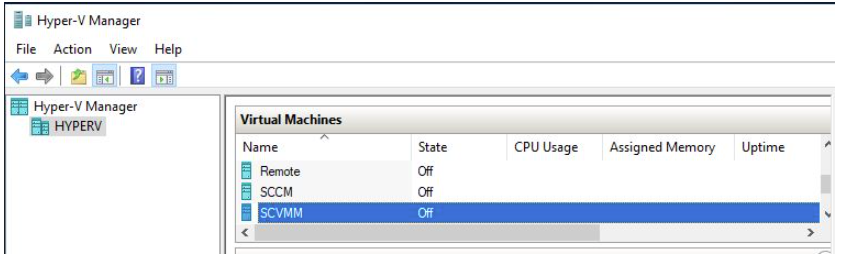
Power ON SCVMM VM
Now go back to your Hyper-V console and browse through your virtual machines until you find your newly deployed SCVMM virtual machine

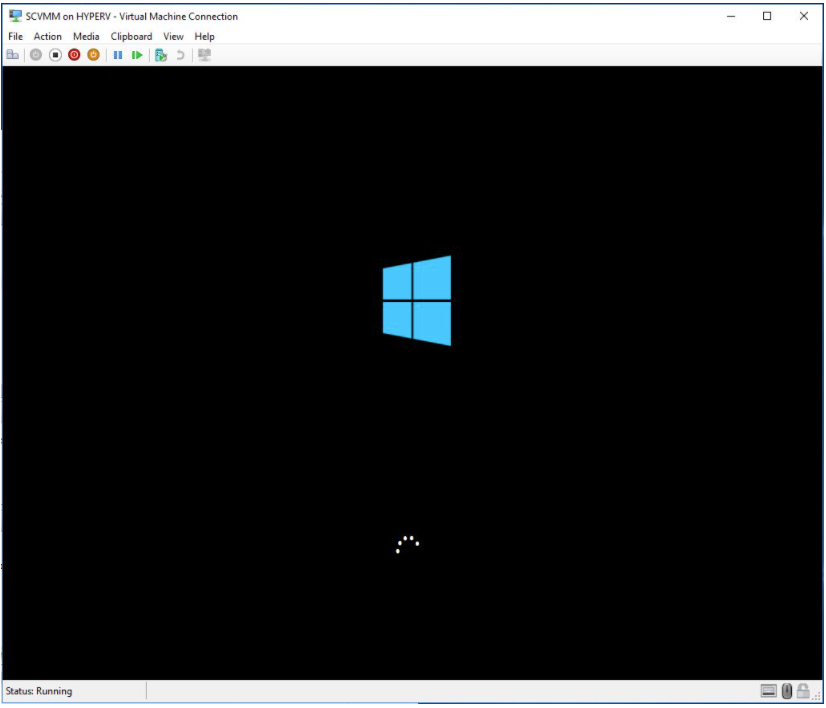
Start SCVMM Installation
To start the installation you will need to power it on and open a console session so you can see what is happening.

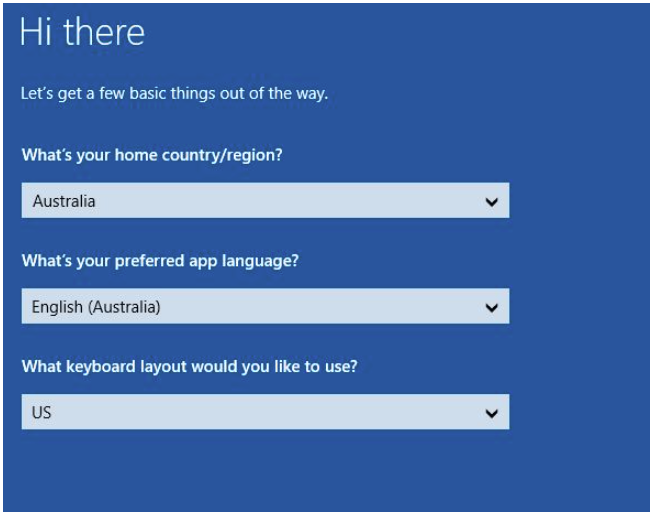
Install Windows 2019 Server
We have to now run through the Windows 2019 server installation. Choose your country / region then click NEXT

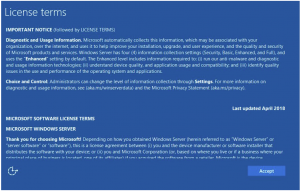
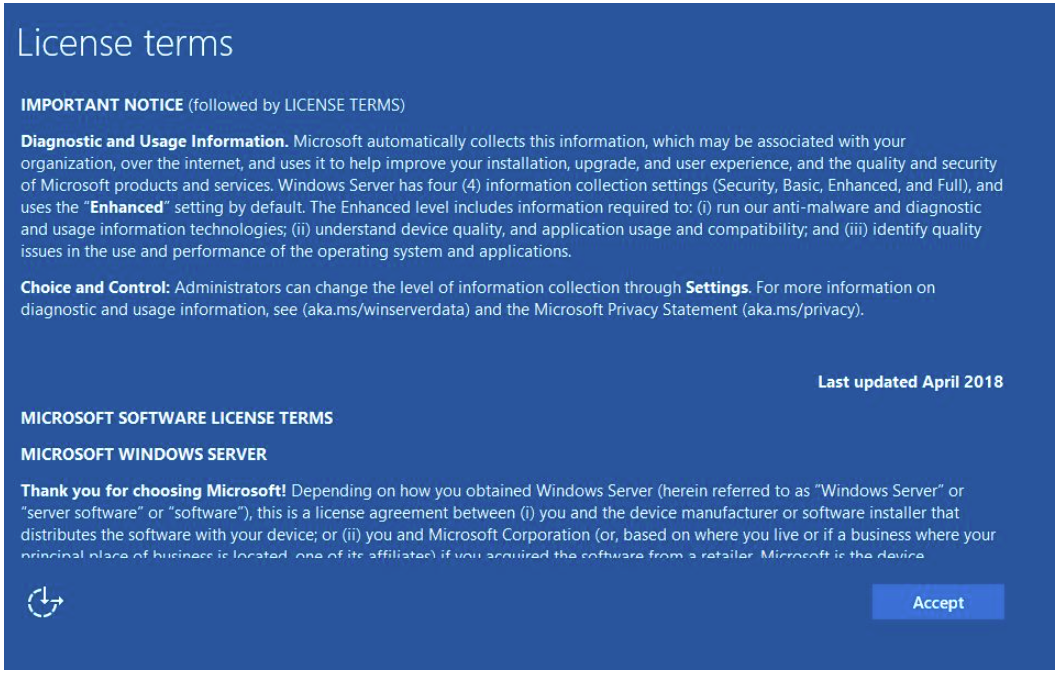
Windows 2019 Server License Agreement
More license terms for you to read through, when you are happy to accept them, click on ACCEPT.
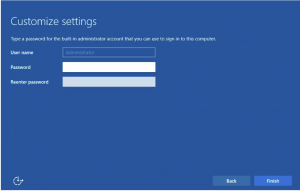
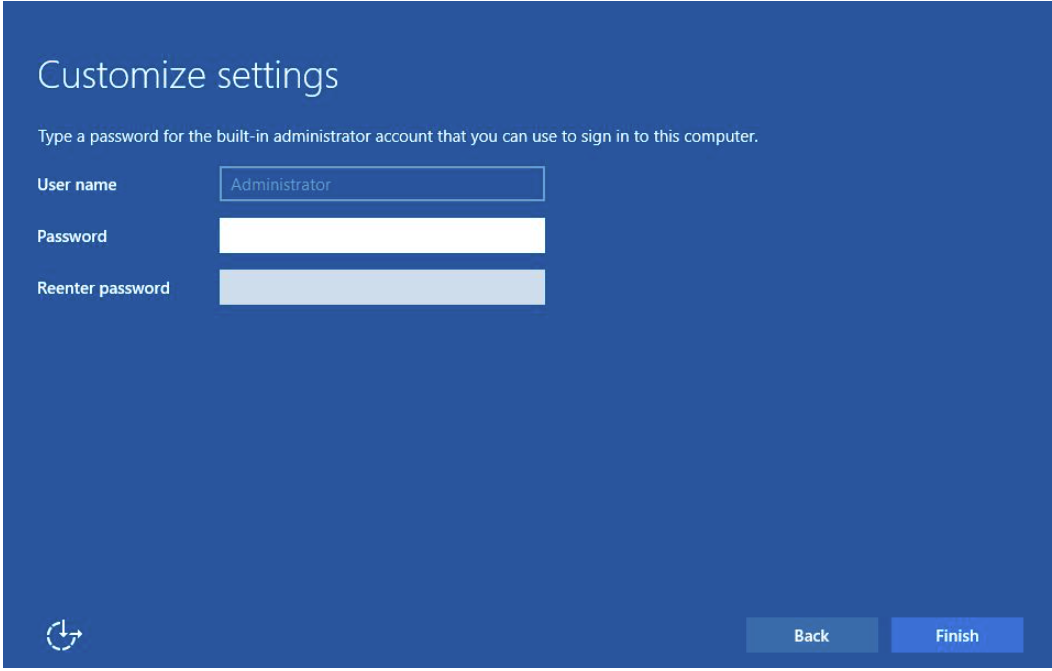
Local Administrator Password Creation
Now provide a local administrator password and then click FINISH then the server will restart
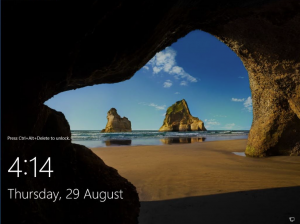
Login to SCVMM Server
Once Windows 2019 server has installed, log on to the server with the local administrator credentials you put in previously
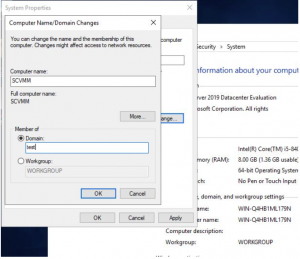
SCVMM join Active Directory Domain
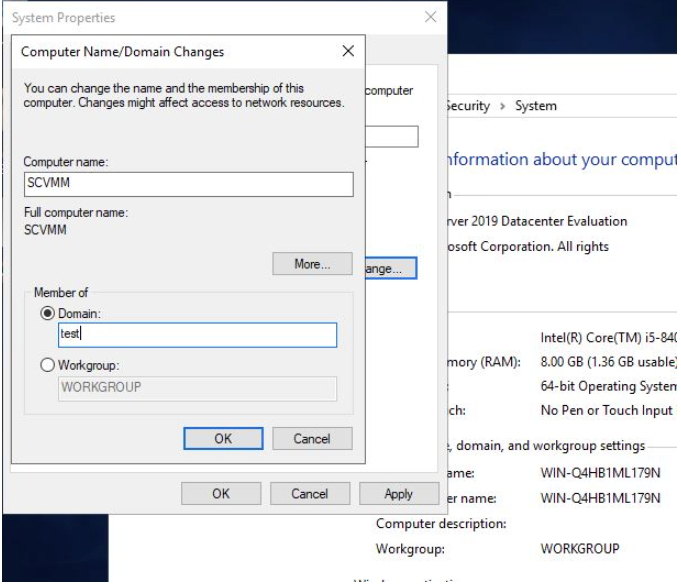
We now need to join the SCVMM virtual machine to the domain, so open up CONTROL PANEL then go to SYSTEM. Change the virtual machine name so you can easily identify it in the future and add the VM to your Active Directory Domain and dont forget to Reboot the server.
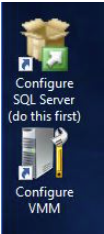
Install SQL Server for SCVMM
So after your SCVMM server has rebooted and is joined to your domain, we next need to start the installation of the SQL Database if you have not got one already. On the desktop of my Windows 2019 VM, I can see Microsoft has placed two icons for me to use to start the SCVMM installation. Luckily in this case they tell me to start the SQL Server install first, so we need to DOUBLE CLICK on that.
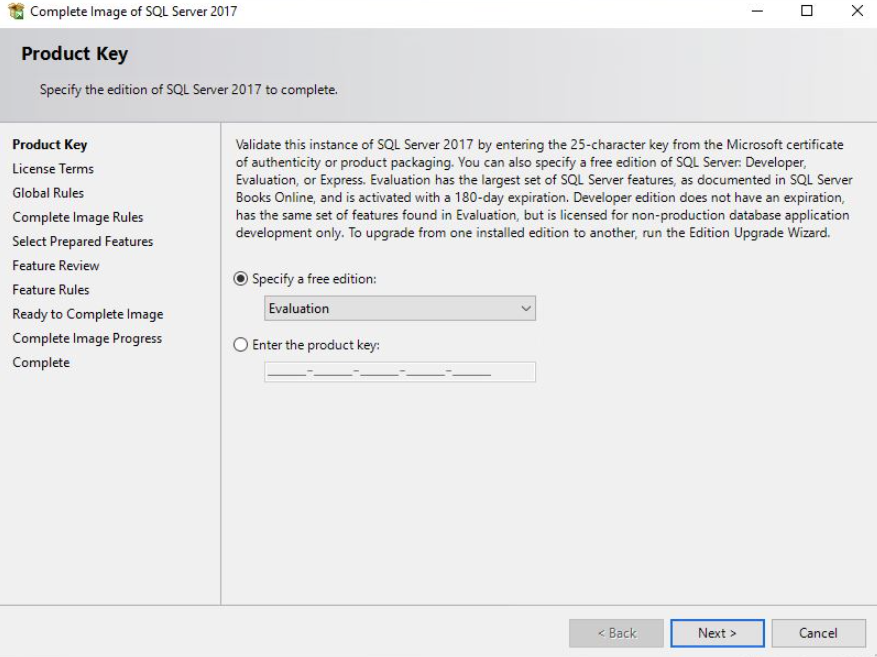
SQL Product Key
On the Product Key page for the SQL install, put in your license details and click on NEXT.

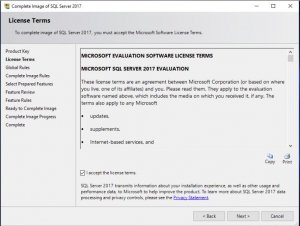
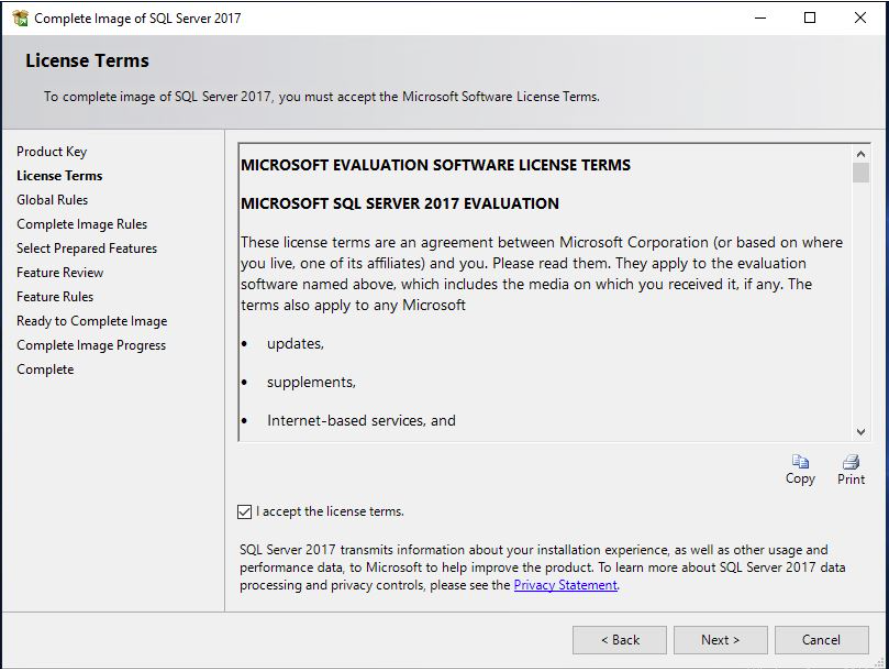
SQL License Agreement
Accept the license terms and click NEXT.
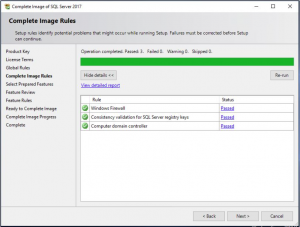
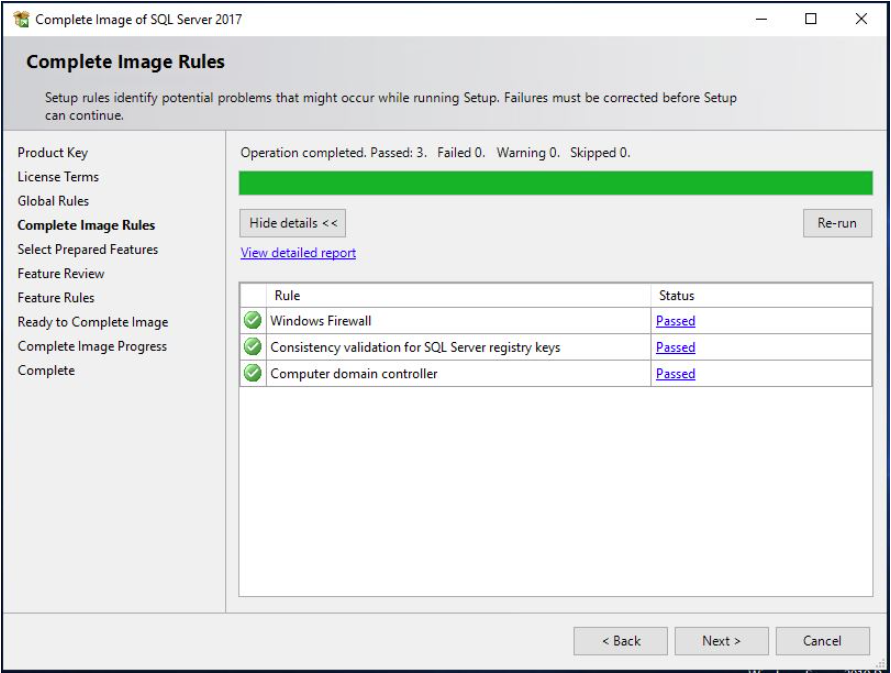
SQL Global Rules
On the Global Rules tab, the SQL installation will check to see if the prerequisites are met for the installation. If all went well as in the picture click on NEXT.
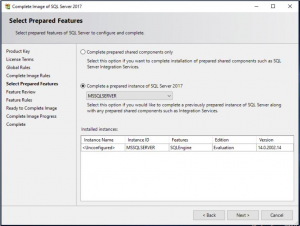
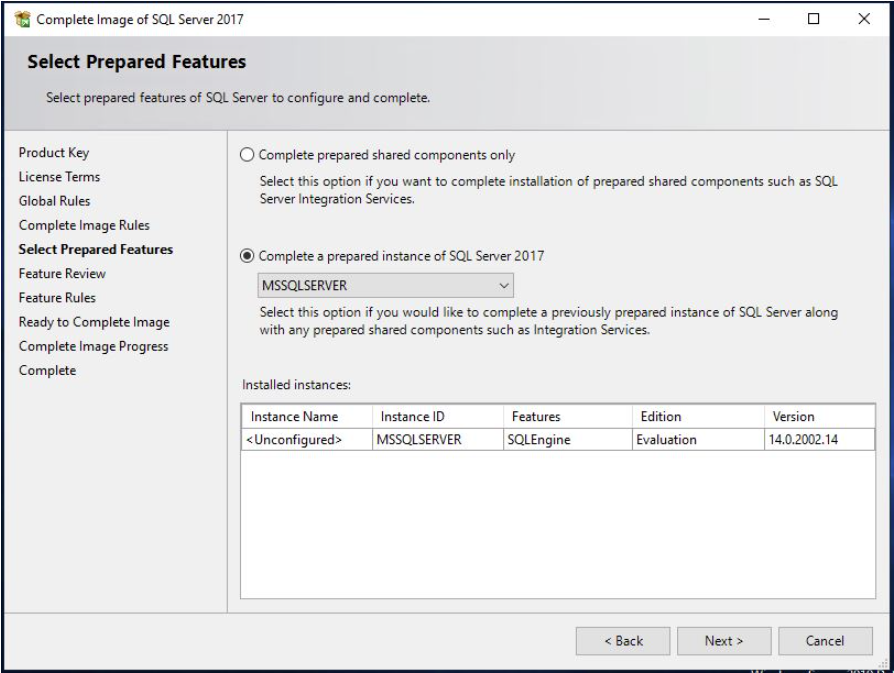
SQL Features
The Select Prepared Features tab check the settings are correct and click NEXT
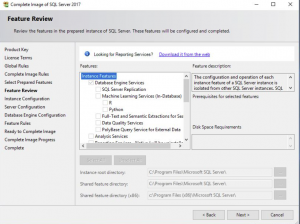
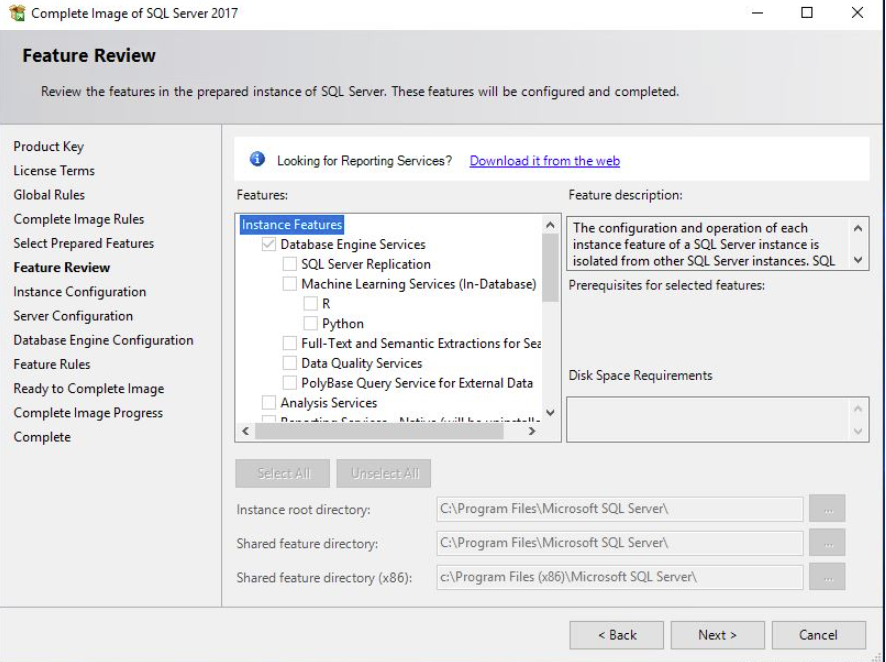
SQL Features Confirmation
The SQL installation for SCVMM now lets you review the Features are correct. Again, review the features you have chosen are right for your environment then click NEXT
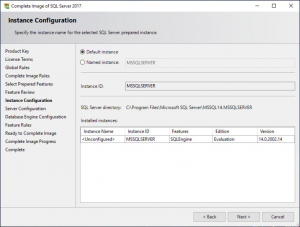
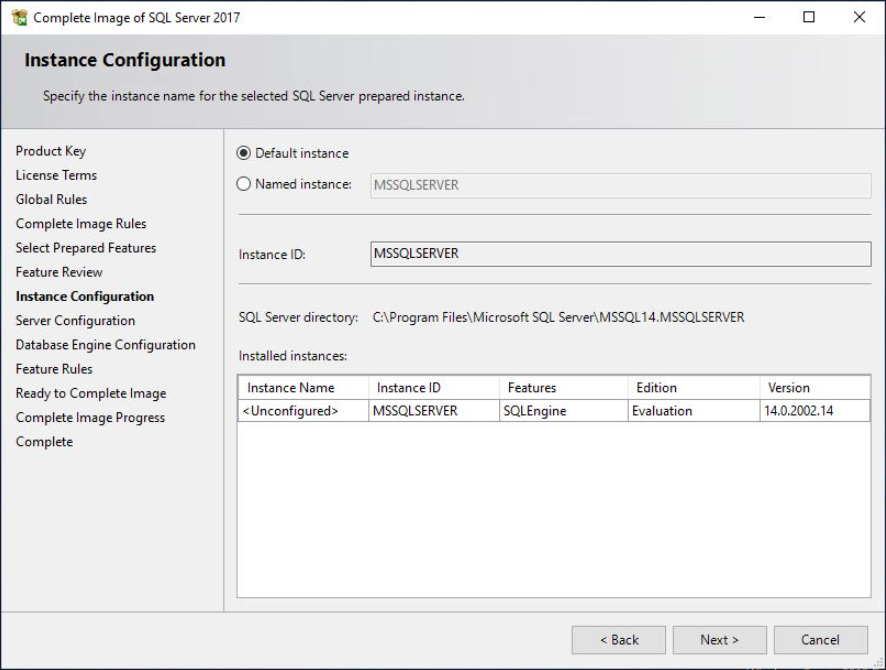
SQL Instance Selection
On the SQL Instance Configuration you need to change this to the Default Instance (if you are installing a fresh copy of SQL, if you are using another server please point the instance to what you have setup. Click NEXT to proceed.
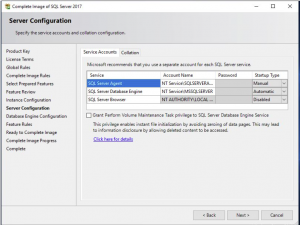
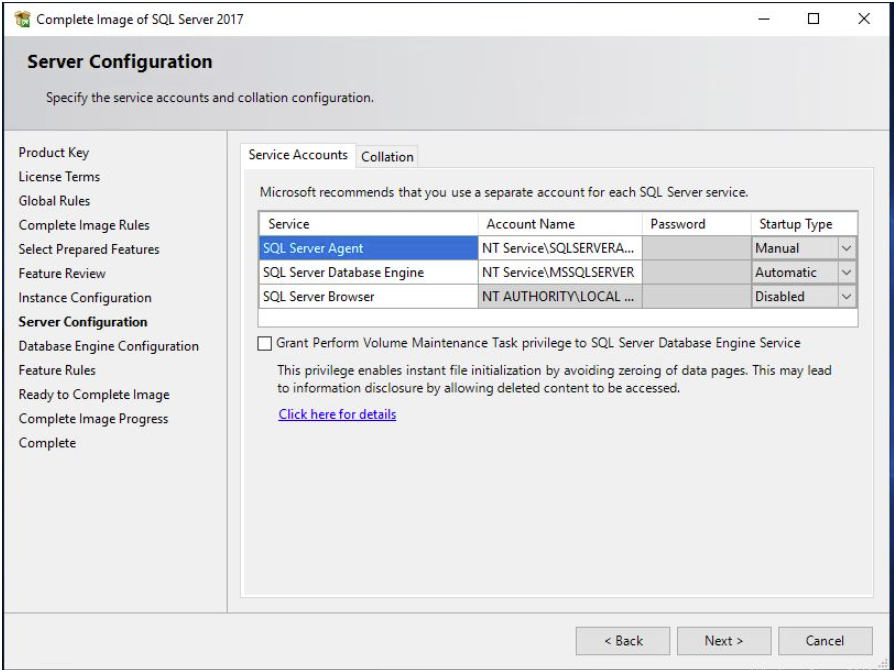
SQL Service Account
Confirm the Server Configuration tab is correct (if you want to change the accounts you can, but Im leaving this all default.) Click NEXT.
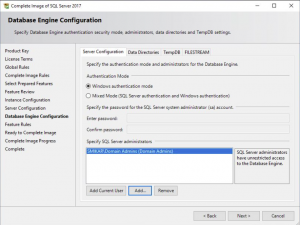
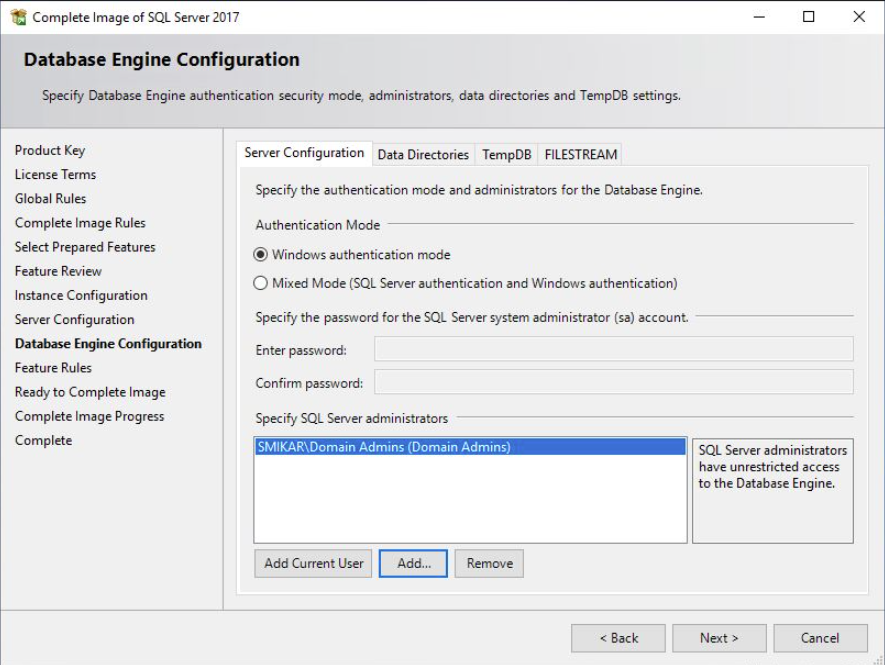
SQL Database Engine Configuration
The Database Engine Configuration tab make sure to add your account so that you can manage the SQL instance. In my screenshot below I added the Domain Admins for my lab environment. Click Next to continue.
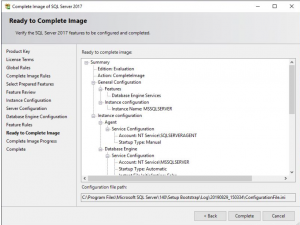
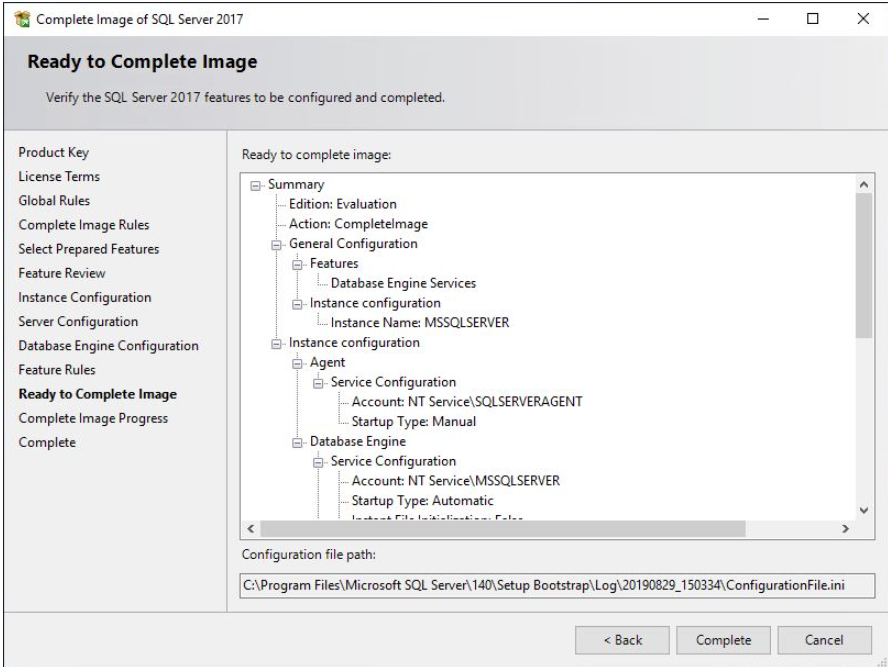
Review SQL Installation Options
We are almost ready to start the SCVMM SQL server installation. Double-check all these settings look correct for your environment then click on COMPLETE to start the install.
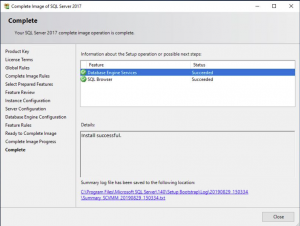
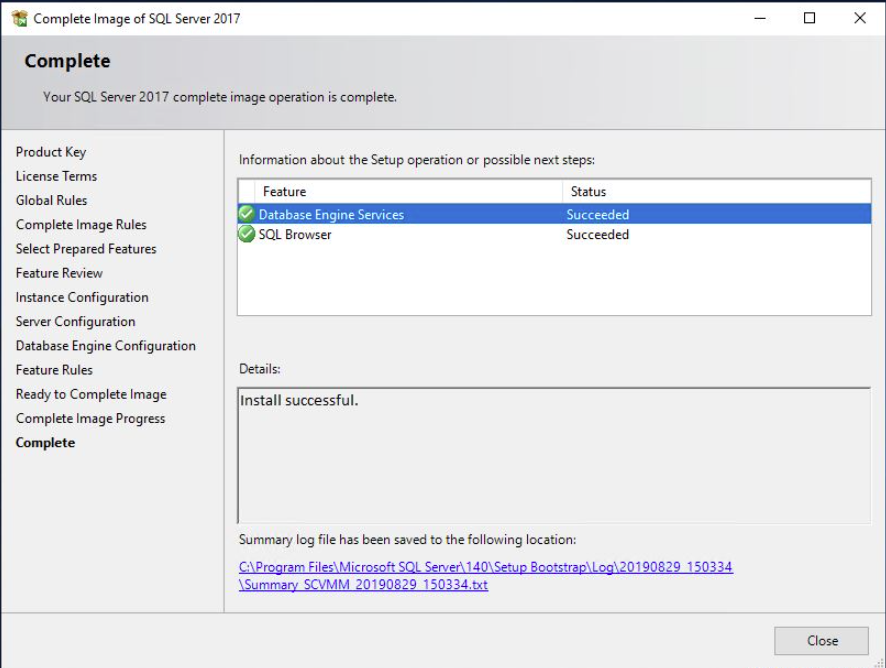
SQL Installing
The installation will now run through the process to install the SQL server components on your Virtual Machine. Maybe go grab a coffee to give this sometime to complete and if all went well you should see something similar to the following screen.
Starting SCVMM Installation
Finally we are on to the fun bit, we can start the configuration of SCVMM. I rebooted the server after the SQL install just to be sure that the services all started correctly and there was no errors detected.
Locate the Configure VMM icon and then DOUBLE CLICK IT.
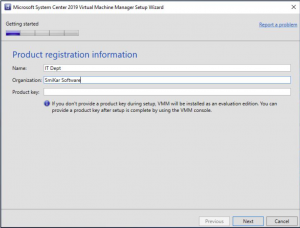
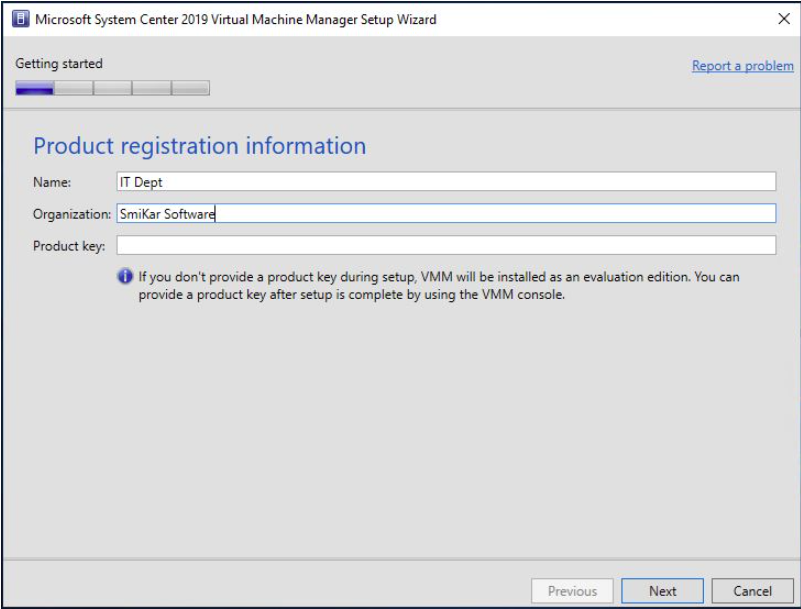
SCVMM Setup
Once the Microsoft System Centre 2019 Virtual Machine Manager setup wizard starts up, put in your details, your company details and your SCVMM licence key then click NEXT.
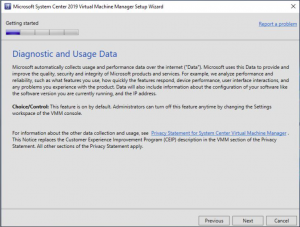
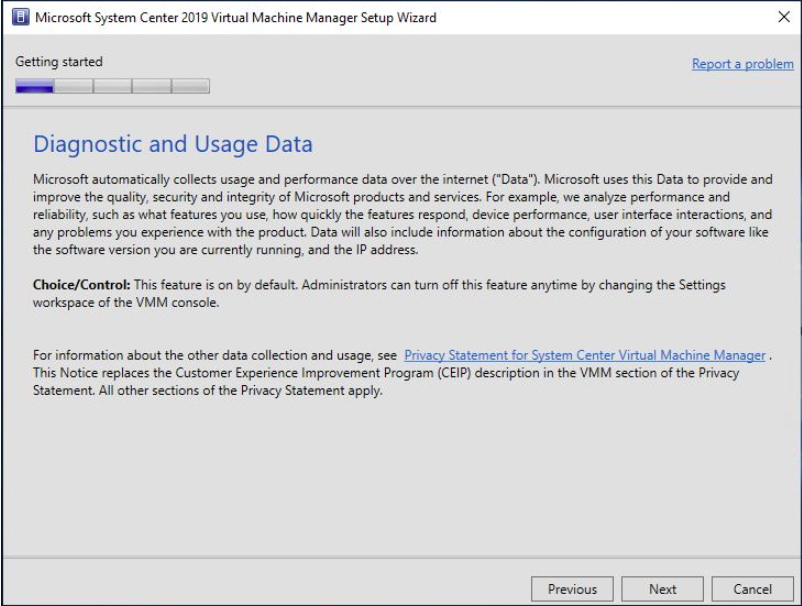
SCVMM Diagnostics and Usage Information
The SCVMM Diagnostics and Usage Data page describes that Microsoft does collect some data from you. Please read through this then click NEXT.
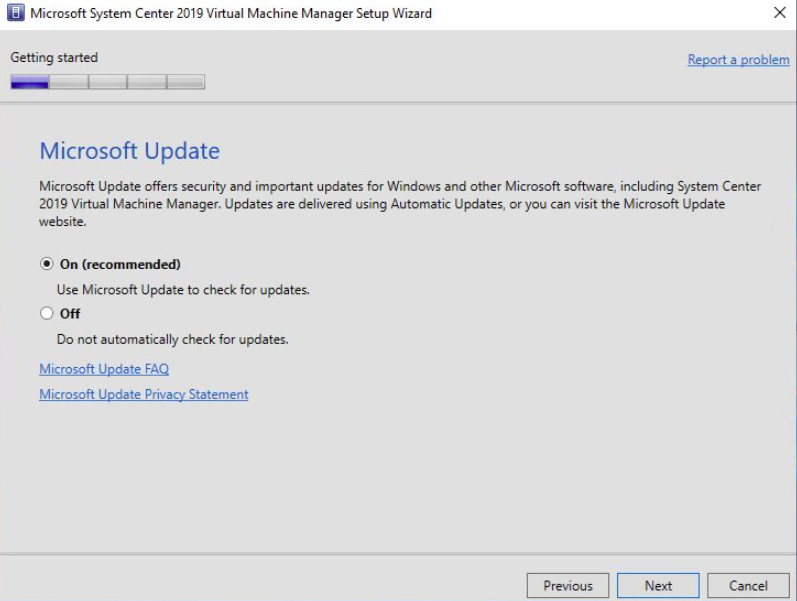
SCVMM Update
It is always a good idea to turn on Microsoft Update to patch the system should any vulnerabilities be found, but this is up to you and your environment. I chose to turn on Microsoft Update, then clicked on NEXT.

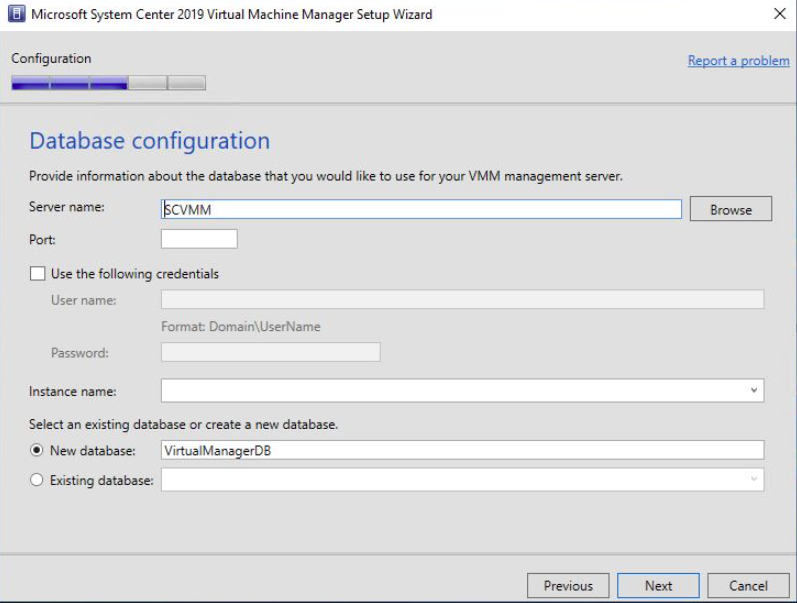
SCVMM Database Configuration
On the Database Configuration tab make sure the settings are correct for SQL server install you did previously and when confirmed click on NEXT.

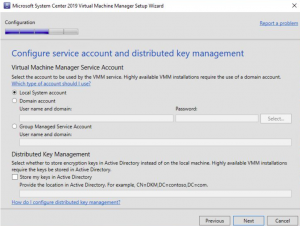
SCVMM System Account
Now to the Configure service account and distributed key management tab, change it to Local System account, and then click NEXT
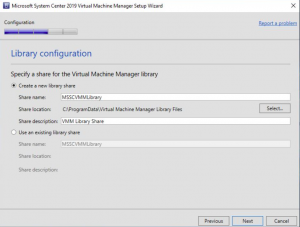
SCVMM Library Configuration
For Library Configuration you can choose to create a new library or an existing share. Im leaving it default here as its a new install of SCVMM. Click NEXT to proceed
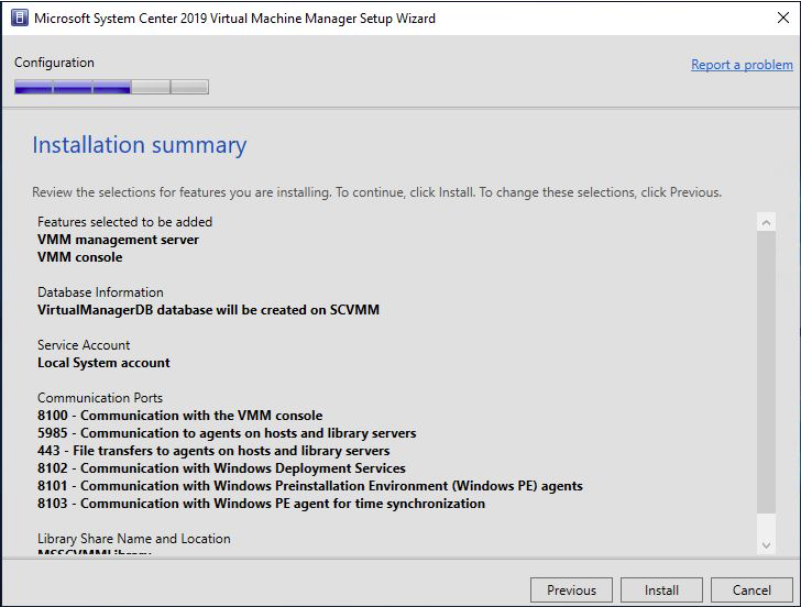
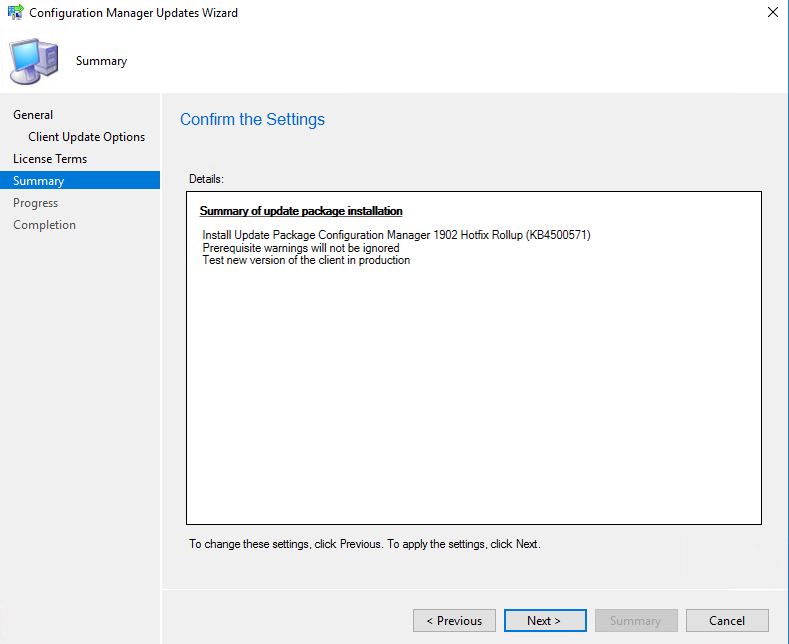
SCVMM Installation Summary
Finally we are almost there, SCVMM is almost configured. Review the details on the Installation Summary page and when you are happy with the details click INSTALL.
This will start the install so be sure everything is correct.

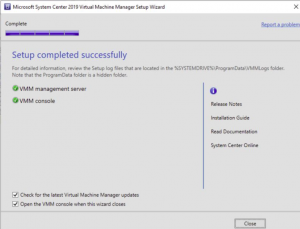
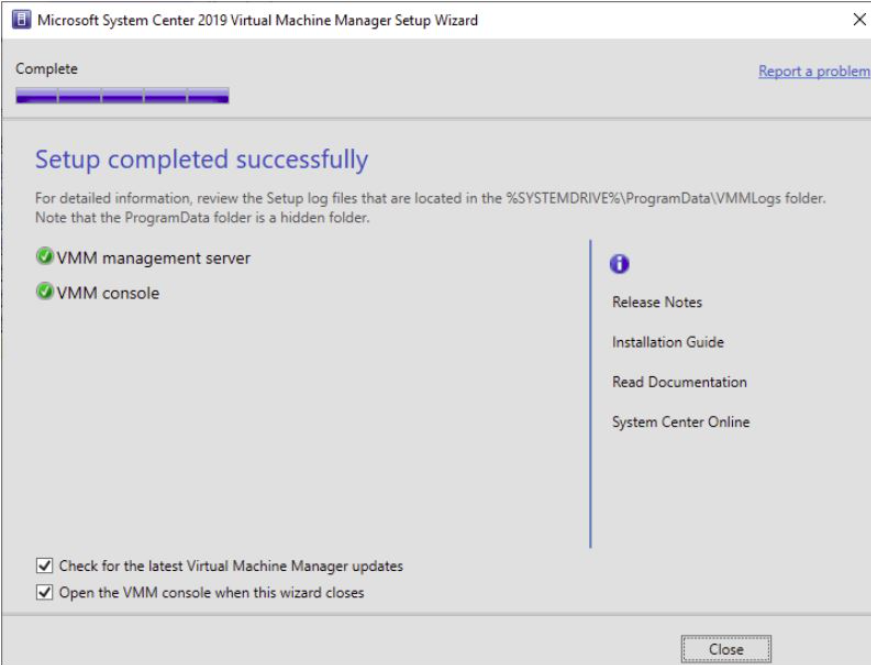
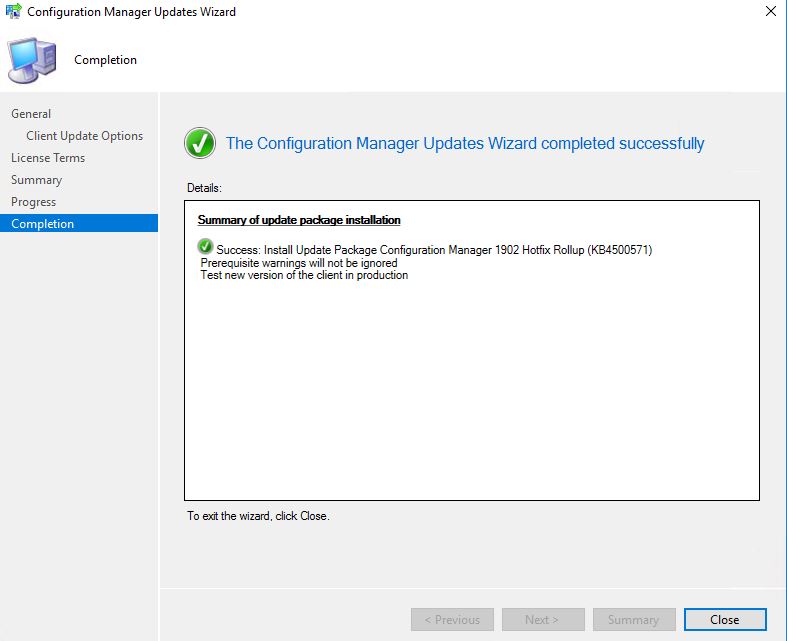
SCVMM Installation Summary
Hopefully you got a successful screen saying that SCVMM is now installed and configured, but if you didnt the best place to look is at the SCVMM install logs located %SYSTEMDRIVE%ProgramDataVMMLogs ServerSetup.log.
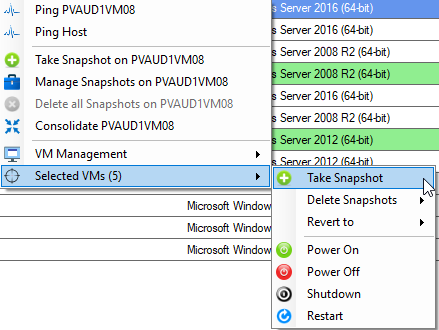
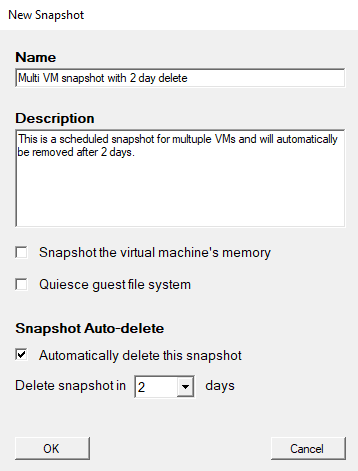
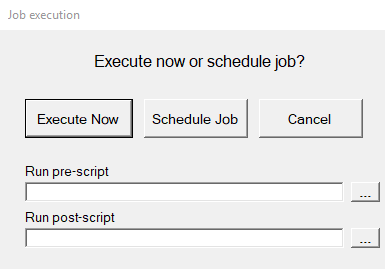
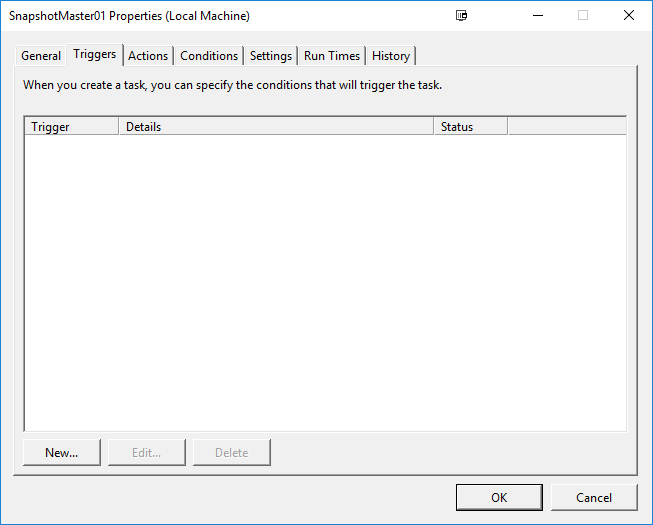
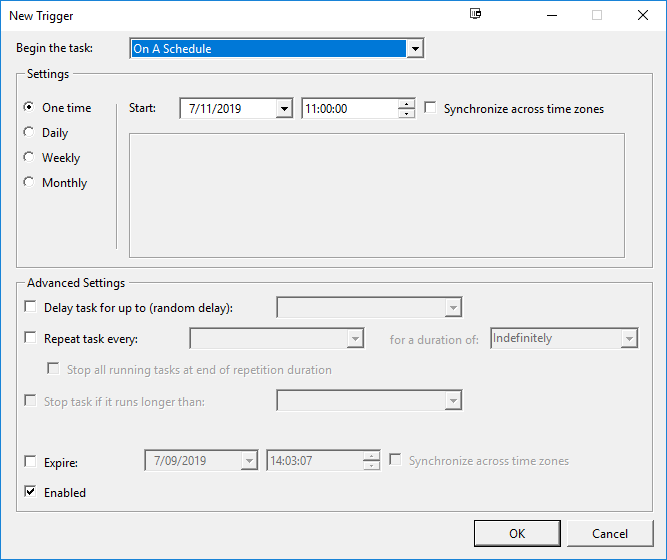
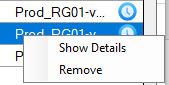
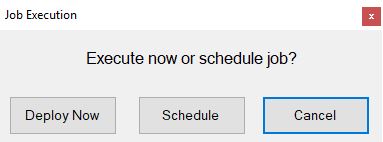
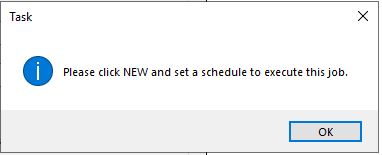
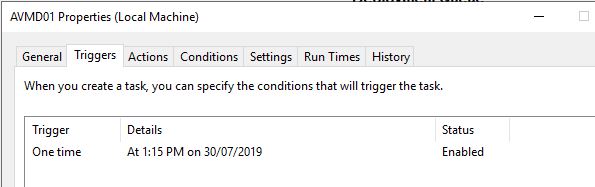
Schedule a Hyper-V Checkpoint
Now that you have SCVMM installed in the next blog post I will cover off how to add your Hyper-V Hosts and perhaps while you are already here you can see how easy it is to schedule snapshot creations and deletions of your Hyper-V or VMware virtual machines with SnapShot Master.
Download and try it for yourself with a free and fully functioning 30 day trial.


