Configuring Snapshot Master: A Step-by-Step Guide
Snapshot Master is a powerful tool that enables you to create and manage virtual machine snapshots and checkpoints on VMware vCentre and Microsoft’s System Centre Virtual Machine Manager (SCVMM) and in Microsoft Azure.
In order to use Snapshot Master, you need to configure it with the right settings. This article will guide you through the process of configuring Snapshot Master.
Snapshot Master Configuration Settings
To configure Snapshot Master within your environment you will need the following information ready;
A Vmware vCentre Account and Password with the correct level of access to be able to create and delete Snapshots.
An Account and Password for your System Centre Virtual Machine Manager with the correct level of access to be able to create and delete Hyper-V Checkpoints.
Email Server details, email address and associated account.
If you have installed Snapshot Master, click the icon now on your desktop
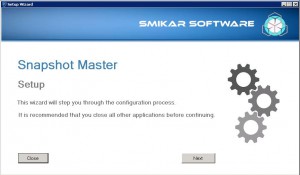
The Snapshot Master setup wizard starts. Click NEXT to continue
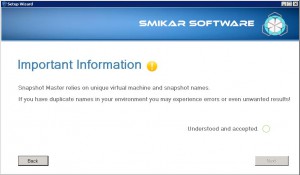
Snapshot Master requires Unique Virtual Machine and Snapshot names. Please confirm that this is how your environment is setup and then click the Understood and Accepted before clicking on Next.
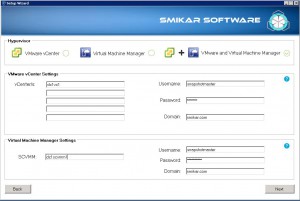
Hypervisor Settings
As Snapshot Master can work with either or both Vmware vCentre or Microsoft’s System Centre Virtual Machine Manager (SCVMM), enter in the server with the required usernames and passwords.
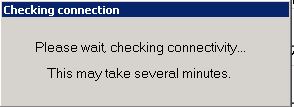
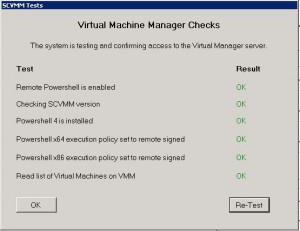
Snapshot Master will now test that the settings you have entered are correct.
If all the settings are correct, you will see the results come back as OK. Click OK to continue.
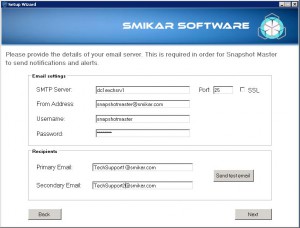
Email Settings
Enter in your email server settings.
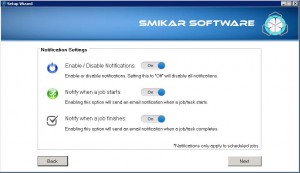
Notification Settings
Next you will enter in what notifications you wish to receive.
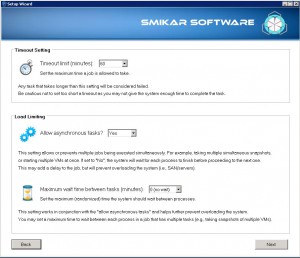
Settings
You can now choose time out settings as well as load limits.
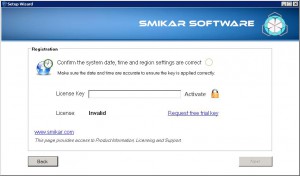
Activation
You now need to confirm the system date, time and region are correct and then the license key to be entered in. Once you have entered in your license key, click activate.
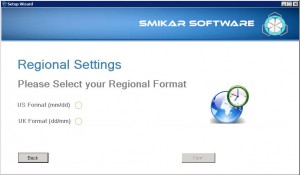
Regional Settings
Choose the correct Date and Month format and click Next.
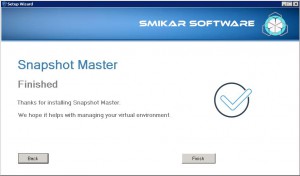
Finished
You have now configured Snapshot Master.
In conclusion, Snapshot Master is a powerful tool that enables you to manage your virtual machine snapshots and checkpoints with ease. By following this step-by-step guide, you can configure Snapshot Master and enjoy its many benefits. Remember to have all the required information ready before you start the configuration process.

