Migrate an Azure VM to VMware or Hyper-V
If you’re looking to download an Azure Virtual Machine to either VMware or Hyper-V for cost savings or compliance reasons, our software Carbon automates the process with just a few clicks. With Carbon, you won’t need to use PowerShell or download the VHD from the Azure portal.
To download your Azure VM to your preferred hypervisor, simply follow the steps outlined below for VMware.
First, download and install Carbon. Then, select your Azure VM and specify your VMware environment as the target. Carbon will handle the rest, downloading and converting your Azure VM to VMware.
In addition to VMware, Carbon also supports Hyper-V as a target environment. So whether you need to export your Azure VM to VMware or Hyper-V, Carbon can help.
To get started, download a free trial of Carbon and try it out for yourself. Don’t waste time with manual downloads or complicated PowerShell scripts – let Carbon simplify the process for you.
The Easiest way to convert your Azure VM to VMWare or Hyper-V
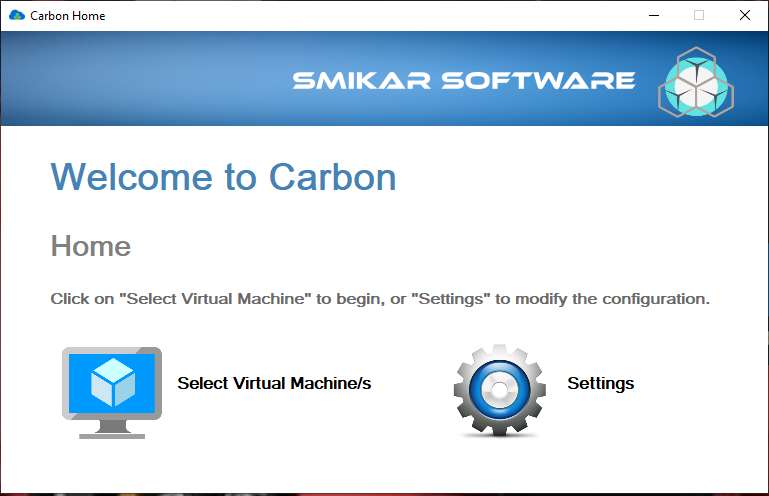
Launch Carbon
Once you have Carbon installed, the first task is to launch Carbon.

Sign in to the Azure Portal
You will now be prompted to login to Azure, so enter your credentials with access to your Azure Portal.

Scan your Azure Portal for all of your Azure Virtual Machines
Find all your Azure VMs
Once you have authenticated against your Azure Tenant, Carbon will now start scanning your Azure environment for all your Azure Virtual Machines.
This could obviously take some time if you have a large Azure Environment.
Once the scan of your Azure VMs has completed, you will see the list of all the Azure VMs in your Azure Tenancy.


Select your Azure VM for Migration
Which Azure VMs do you want to migrate back to your Hypervisor
Now you should see a list of all your virtual machines in your Azure Environment.
Details displayed include:
- The Azure VM Name
- The status of the Azure VM
- The Azure VM size
- The number of CPUs your Azure VM has
- The amount of Ram
- The Azure VM’s IP Address
- The Azure vNet it resides in
- The Operating System of your Azure Virtual Machine
- The Azure Resource Group
- The Azure Subscription
- The Azure location
- and finally, the number of disks attached to your virtual machine
You simply select (by using the checkbox on the very right of the screen) the Azure VMs you want to download to VMware, then click Next.
The VMs you want to migrate will need to be powered off, so make sure you do this prior to attempting the migration.

Managed or Unmanaged Disks
Azure VM Disk Configuration
Now if the Azure VMs you are going to convert to VMware are using Azure Managed Disks, you will get this prompt.
Click OK to proceed.
What Carbon will do next is copy this Azure VM disks to a storage account that you specify in the next screen.
Please take note of the location of your Azure VM, as you want to use an Azure Storage Account in the same region.

Azure Storage Account for Conversion
Choose a destination Azure Storage Account
Next we select the appropriate Azure Storage Account that the Azure VM will be copied and converted to.
Choose the storage account you want and then choose Select.
Carbon will now read your Azure VM disk configuration. This can take a few minutes.

Choose your VMWare or Hyper-V Environment for Azure VM Migration
Connect to you Hypervisor
Now we are presented with your virtual environment (in this case our VMware vCentre environment)
Choose from the dropdown lists the VMware Host, the datastore and virtual network you want your Azure VM to download to.
You have the option here to send you an email once the migration has completed.
Click Start Migration to proceed to the final step


Azure VM Migration Process
Converting your Azure VM
Now, the conversion process is underway. Your Azure VM will be downloaded and converted to the appropriate format for either VMware or Hyper-V before finally being deployed to your on-premise virtual infrastructure.
Please Note: This may take some time, dependent on the size of your Azure VM disks, so please be patient.
If you have email alerting setup and turned on, you will receive an email once the process has completed.

Azure VM Conversion Progress
Converting your Azure VM for your selected Hypervisor
Watching the Progress window you can see the status of your download and conversion of your Azure VM.
In this picture you can see that the disk download has completed as well as the conversion and its currently being uploaded to our VMware environment.

Azure VM Converted
Azure VM Conversion is now Complete
After some time your Azure VM should now have downloaded, converted to VMware and be available within your vCentre server.

Azure VM Migration Alerts
If you requested an email alert, you should have received one in your inbox stating that the Azure VM has now deployed to your VMware environment.

Azure VM Conversion Completed
View the migrated VM in your Hypervisor
If you go to your vCentre now you should be able to find the Azure VM you had migrated to your VMware environment.
All left for you to do now, is power it on then log on to the VM and update the IP address if needed.

Azure VM Conversion Completed
Find the migrated VM in your Hypervisor
If you go to your vCentre now you should be able to find the Azure VM you had migrated to your VMware environment.
All left for you to do now, is power it on then log on to the VM and update the IP address if needed.
Your Azure VM has been converted and then migrated to your Hyper-v or VMware environment.
And that’s all there is to it. You have downloaded an Azure VM and converted it to VMware or Hyper-V. (Obviously in this example we converted the Azure VM to VMWare. For HyperV the last few steps are replaced with VCentre with SCVMM)
You can download a fully functioning trial of Carbon here to test it for yourself.