If you are an Azure Cloud Storage user, you will know that Azure offers three different storage tiers for storing data: hot, cool, and archive tiers. These Azure Storage tiers offer different levels of performance and cost efficiency. In this post, we’ll show you how to move blob content between these storage tiers, whether it is an individual Azure Blob, multiple Azure Blobs, or all the Azure Blobs in your Storage Accounts, using Cloud Storage Manager.
Why Change Azure Blob Tiering?
There are cost benefits to moving your Azure Blobs down to a lower Storage Tier. Hot is the most expensive, with cool a little bit cheaper, and the Archive Blob Tier having the lowest cost option. For more Azure Storage Cost-saving ideas, we cover some great cost-saving initiatives in another blog, or perhaps you want to see just how much Azure Storage you are consuming across your complete Microsoft Tenancy in this blog. These are just some of the functions you can perform with Cloud Storage Manager.
Cloud Storage Manager is a powerful tool for managing your Azure Cloud Storage. In this blog post, I will show you how easy it is to move a single Azure Blob or even select multiple or the complete container and move those blobs from any storage tiering to another with just a few clicks.
Easily change single, multiple or all your Blobs to any selected Azure Storage Tier
In this blog post, I will show you how easy it is to move a single Azure Blob or even select multiple or the complete container and move those blobs from any storage tiering to another with just a few clicks.
There are cost benefits moving your Azure Blobs down to a lower Storage Tier, Hot being the most expensive, with a cool a little bit cheaper, and the Archive Blob Tier having the lowest cost option. For more Azure Storage Cost saving ideas, we cover some great cost saving initiatives in another blog, or perhaps you wont to see just how much Azure Storage you are consuming across your complete Microsoft Tenancy in this blog. These are just some of the functions you can perform with Cloud Storage Manager.
Now perhaps you want to setup Azure Storage Lifecycle Management Policy, which will automatically move Azure Blobs to the Azure Storage Tier when certain conditions have been met. Well in one of our previous blog posts shows you exactly how to do this.
This blog post however, is if you would like to manually move a single or bulk amount of Azure Blobs to a different storage tier.
Launch Cloud Storage Manager
Hopefully you have installed Cloud Storage Manager and have completed a full scan of your Azure Storage Accounts.
If you havent installed it yet, or want to download a Demo and try it for yourself, you can get a trial by visiting this page. Remember, this tool is completely FREE for everyone to use.
So moving on, Ill assume have the above completed. First Open Cloud Storage Manager and navigate by the Azure Storage Tree and locate the Storage Account you want to change the Blob Storage Tiering for.
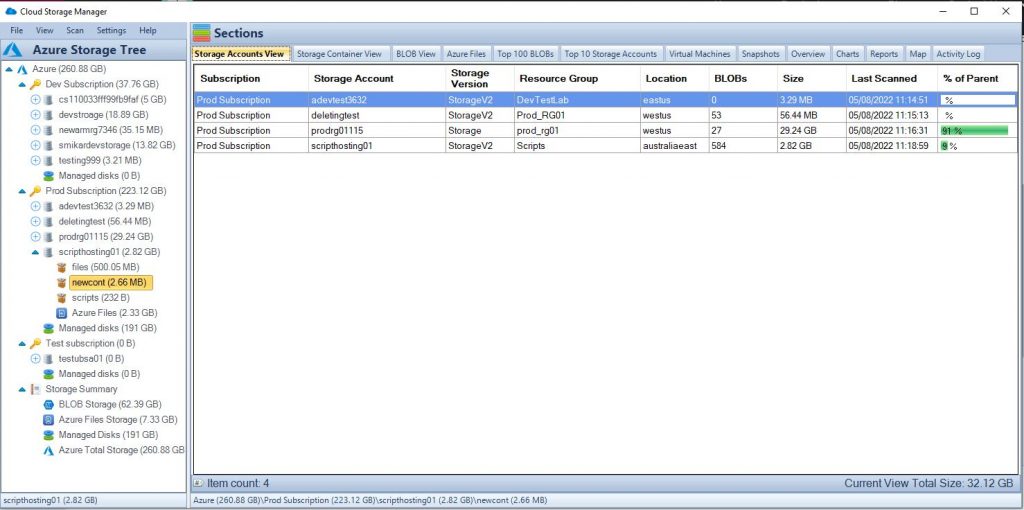
Select the Blob View
Select the Azure Storage Container you want to change the Blob Tiering for, then select the Blob View Window.
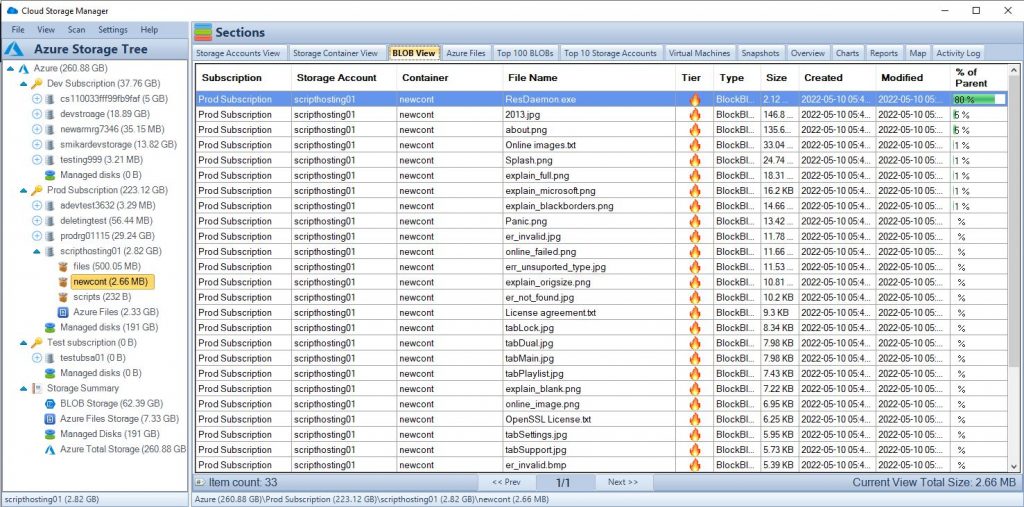
Here you will see information about all the Azure Blobs in that Storage container.
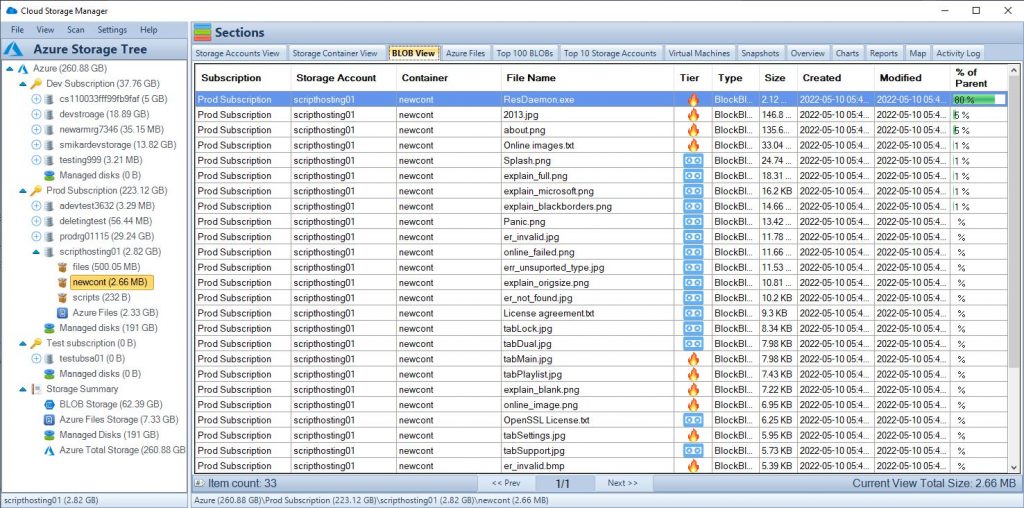
You will notice the Tiering of each of the Blobs, with a Fire Symbol showing they are in the Hot Storage Tier, an Icycle Symbol showing they reside in the Cool Storage Tier, or lastly a Tape Icon detailing the Azure Blobs are in the Azure Archive Storage Tier.
Select the Blobs you want to change Storage Tiering for.
Now from this view you can see all the Azure Blobs in that Storage Container.
See details like the Blob Name, which Subscription, Storage Account and Container the Blob resides in, also the size, Tiering (of course thats why we are here), when the Blob was created and last modified.
Simply select the Azure Blobs you want to change the Tiering of, using control and a left click of the mouse to select multiple individual Blobs, or press Control and A to select them all.
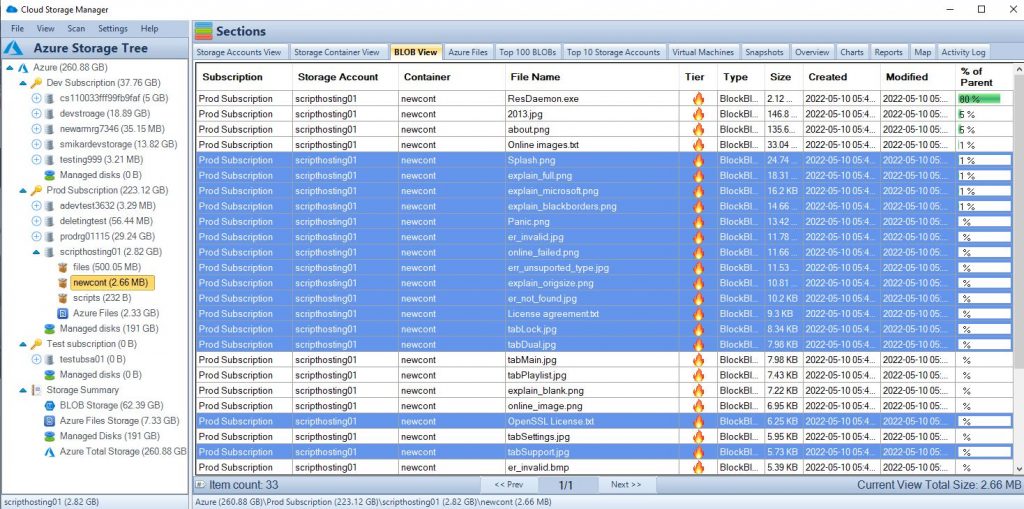
Select individual or multiple Azure Blobs.
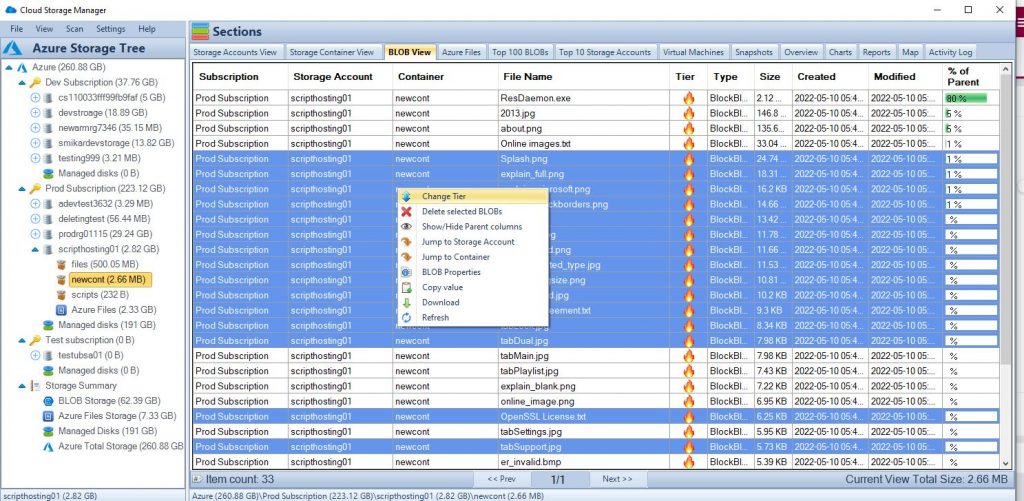
Now right click a Blob and you will be shown the Cloud Storage Manager right click menu.
You can perform the folliwing functions to selected Azure Blobs from this menu;
- Change the Tier of the selected Azure Blobs
- Delete the Selected Azure Blobs
- Show or Hide the Parent Columns
- Jump back to the Storage Account Window
- Jump back to the Container Window
- See the Blob Properties
- Copy the Values displayed of the Blobs
- Download the selected Blobs to your own Computer
- Refresh the view you are currently looking at.
Now, since we are wanting to change the tiering of the selected Azure Blobs, I am going to left click on Change Tier
Select individual or multiple Azure Blobs.
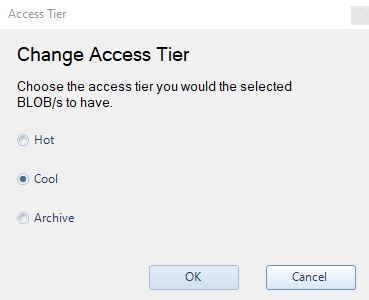
This is where we now select which tier you want the selected Azure Blobs changed to.
In this example, Ill move those Blobs to the Archive Storage Tier.
Select Archive Tier and then click on OK.
Azure Blob Tiering Change
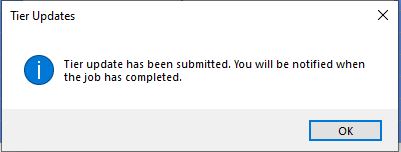
Cloud Storage Manager has now initiated a tiering change job for all the Azure Blobs I have selected.
Cloud Storage Manager will now change the storage tiering type for each of these Azure Blobs selected.
Check the status of the Blob Tiering Change
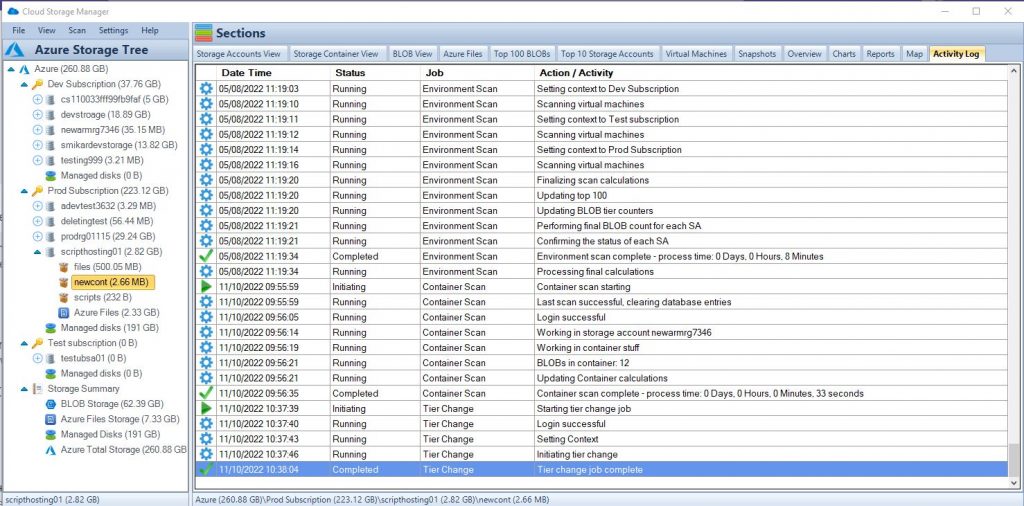
You can see the status of Azure Blob Tiering change by viewing the Activity Log within Cloud Storage Manager.
Each of those Blobs selected are now being moved to the Azure Blob Storage Archive Tier.
View the change in Tiering of your Azure Blobs
Now go back to the Blob view of the Storage Container we orginally selected.
You can see here that those Azure Blobs I selected have now changed to the Archive Tier.
And thats all there is to it, we changed selected Azure Blobs storage tiers from the Hot Tier to the Archive Tier with just a few clicks.
If you want to trial Cloud Storage Manager for yourself, simply visit the Cloud Storage Manager product page and download a trial for yourself. It is completely FREE to use for everyone.
Not only can Cloud Storage Manager change the tiering of bulk amounts of Azure Blobs with a few clicks, you can also see which Storage Accounts are not being used, and gain further insights in to your Azure Storage Consumption.
Azure Blob Storage Tiering FAQs
| Question | Answer |
|---|---|
What does blob stand for in Azure?
| Blob stands for Binary Large OBject. | |
What are the 3 tiers of blob storage?
| The 3 tiers of blob storage are Hot, Cool, and Archive. | |
What is block blob vs append blob vs page blob?
| Block blobs are used for streaming and storing large binary objects. Append blobs are used for logging scenarios. Page blobs are used for random read/write operations. | |
What is hot tier in used for in Azure Storage?
| The Hot tier is used for frequently accessed data that requires high-performance access times. | |
What is the cold tier used for in Azure Storage?
| The Cool tier is used for infrequently accessed data that requires low-cost storage. | |
What is the archive tier used for in Azure Storage?
| The Archive tier is used for rarely accessed data that needs to be stored for a long time at a very low cost. | |
What is the difference between blob and block blob?
| Blob is a general term for data stored in Azure Storage. Block blobs are a type of blob that are used for large binary objects. | |
What is the content type of Azure blobs?
| Azure blobs can have any content type specified by the user. | |
How can I get the consumption of my Azure Blob Storage?
| Use Cloud Storage Manager to provide you with an overview and more indepth insights in to your Azure Storage consumption. Find out exactly how much storage each storage account, container or folder contains. | |
Is Azure blob storage equivalent to S3?
| Yes, Azure blob storage is equivalent to S3 in AWS. | |
Is Azure blob storage a data lake?
| No, Azure blob storage is not a data lake. | |
Can Azure blob storage store structured data?
| Yes, Azure blob storage can store structured data in the form of text, JSON, or XML files. | |
What is the maximum number of blob containers in an Azure storage account?
| The maximum number of blob containers in an Azure storage account is 500,000. |