VMWare PowerCLI Installation Failed
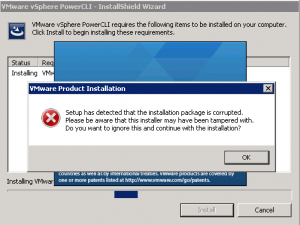
If you are installing VMWare’s PowerCLI for remote administration of your VMWare farm, or for SnaPatch or Snapshot Master you may at times receive the following error, “Setup has detected that the installation package is corrupted. Please be aware that this installer may have been tampered with.” One of the possible causes for this is that the root certificate for VeriSign isnt installed on your computer. There are a few ways to fix this issue, one is to download the root certificate from VeriSign themselves and then to install it to the local computer account under Third-Party Root Certification Authorities-Certificates, or to export it from the VMWare PowerCLI installation package.
VMWare PowerCLI setup error
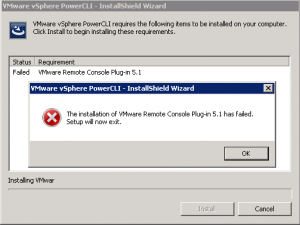
These screenshots show the error you would receive while trying to install the VMWare PowerCLI installer.
How to Manually install the root certificate
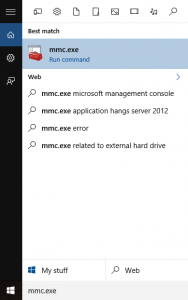
First off we will see if the root certificate is in fact already installed or not. From a command prompt type mmc.exe to open up the Microsoft Management Console.
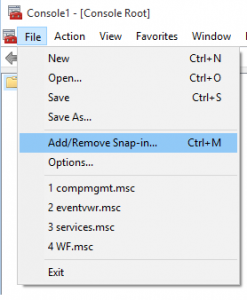
Now go to File, then Add/Remove Snap-in
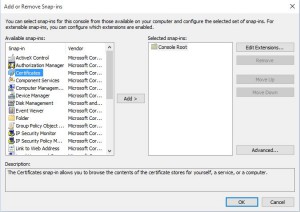
Next we have to choose the Certificates addin. Highlight Certificates then click on Add.
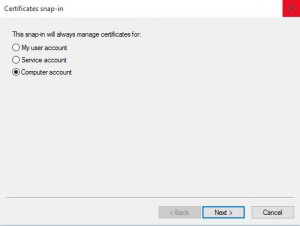
You will now need to select Computer Account and then click Next.
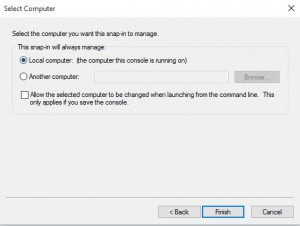
Choose Local Computer for the location that this snap-in will manage then click Next.
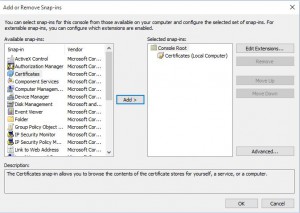
Now click OK and the Certificates Snap-in will be available.
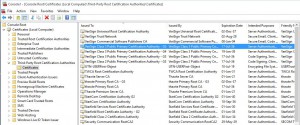
Expand Certificates, then Third-Party Root Certification Authorities and finally Certificates. You will now need to look for the Root Certificate, VeriSign Class 3 Public Primary Certification Authority – G5. In this example you can see that the certificate is installed. If it isnt installed you can download and install the certificate to the shown location. If you cannot download the root certificate it is possible to import the certificate from the VMWare PowerCLI installation package, as shown in further steps.
How to import the certificate from the VMWare package
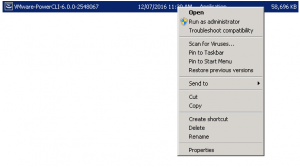
Now you will need to export the Root Certificate from the VMWare PowerCLI installation package. To do so, locate the EXE file and right click it then choose properties.
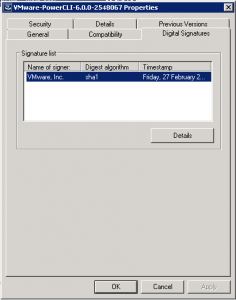
Change the tab to Digital Signatures then click Details.
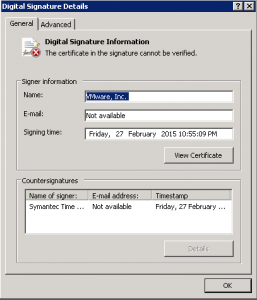
As you can see in this example, “the certificate in the signature cannot be verified”. Click View Certificate to proceed.
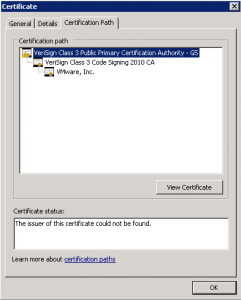
Change to the Certification Path tab and make sure you select the top of the certification path. In this example, you can see it highlighted as VeriSign Class 3 Public Primary Certification Authority – G5. Once selected click View Certificate.
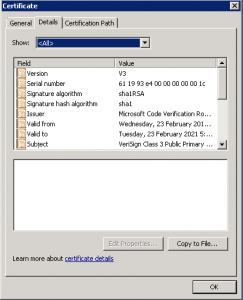
Again, in the next window go to the Details tab then click Copy to File.
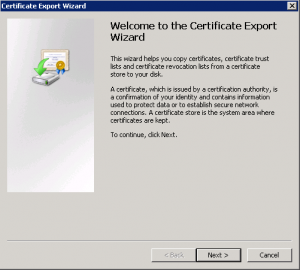
The Certificate Export Wizard starts next. Click on Next to proceed with the Wizard.
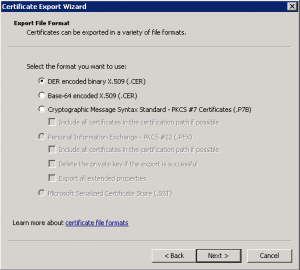
Leave the Format as DER and then click on Next.
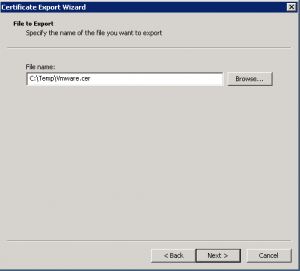
Choose the location and filename where you want to save the exported certificate and then click Next.
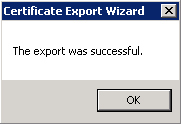
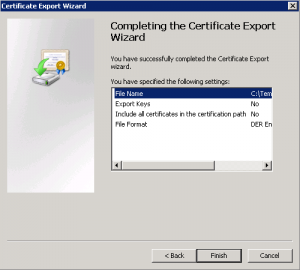
You can now click Finished and the Certificate Export Wizard will then close.
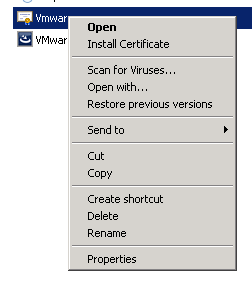
Next we need to import the VeriSign Root Certificate to the correct location. Right click the exported certificate and select Install Certificate.
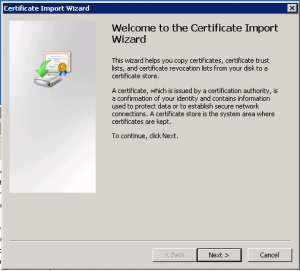
The Certificate Import Wizard now starts. Click Next.
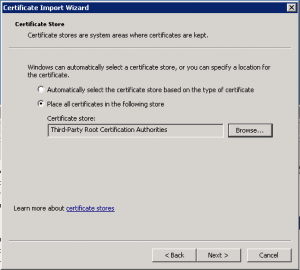
Select Place all certificates in the following store and then choose Third-Party Root Certification Authorities. Click Next when ready to do so.
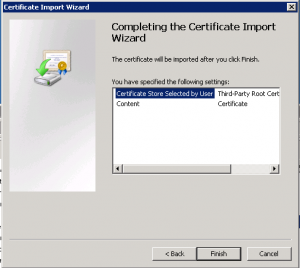
Now click Finish.
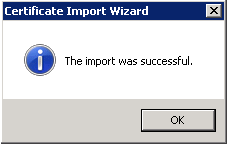
The Root Certificate from VeriSign should now have installed in to the correct location and you can then restart the installation of VMWare PowerCLI.


