
Filtering Users and Groups using Azure AD Connect

Microsoft’s Azure AD Connect allows you to sync your on-prem AD to your Azure AD / Office 365. If you leave all the settings as default, then AD Connect will happily sync all your AD objects. This is fine for some, however many large organisations do not want to sync their entire environment. There are options to filter the objects by selecting specific OU’s, but sometimes this isn’t granular enough. Another option is to select a group and filter based on its memberships – but this is considered “pilot” mode and should not be used in a production environment. Personally, this is my preferred method, it’s easy to setup and you can add or remove users and groups to this “sync” group whenever you wish – but who am I to argue with Microsoft.
So if you can’t filter based on OU, and you don’t want to go against Microsoft’s “best practice”, what other options do you have?
Well, you need to look use the “Synchronization Rules Editor”.
The rules editor allows you to create filter rules, to either filter in or filter out the AD objects you want to sync.
In the below example I will show you how to filter out Users and Groups from syncing.
The rules editor uses the AD Attributes of the object to determine whether or not to sync them. By attributes, I mean these…
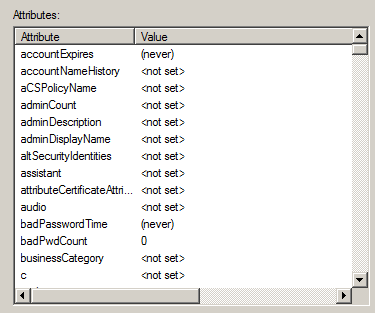
If you have Exchange in your environment then you will have the extensionAttribute 1 – 15 in your schema. I tend to use these attributes, but you may decide to use any that suits.
OK, so what I want to achieve is to only sync the users or groups that have the extensionAttribute1 set to “Sync to Azure”. Any object without this value will not get synced.
First, lets modify the attribute for 1 user and 1 group.
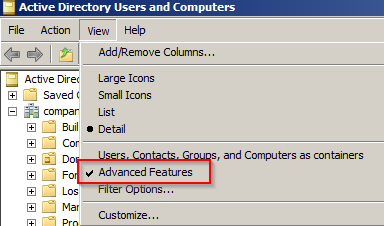
Open AD Users and Computers and click View, and make sure the Advanced Features option is ticked. Without this option you won’t see the attributes tab.
Find a test user and open the properties, then click on the Attribute Editor tab.
Scroll through and find the extensionAttribute1 and click Edit. Set the value to Sync to Azure.

Repeat the process for a Group.
OK, now that we’ve set the attribute on both a user and group object, launch the Synchronization Rules Editor.
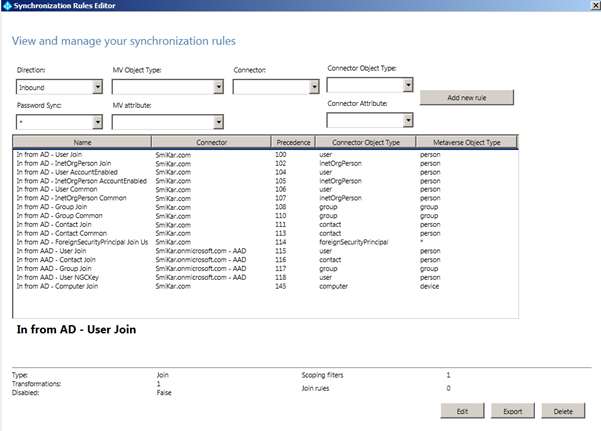
We will now create two rules, one to filter users, and another to filter groups.
Ensure the Direction is set to Inbound and click the Add new rule button.
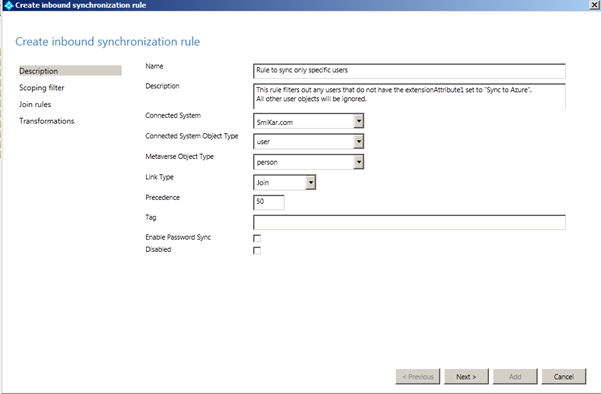
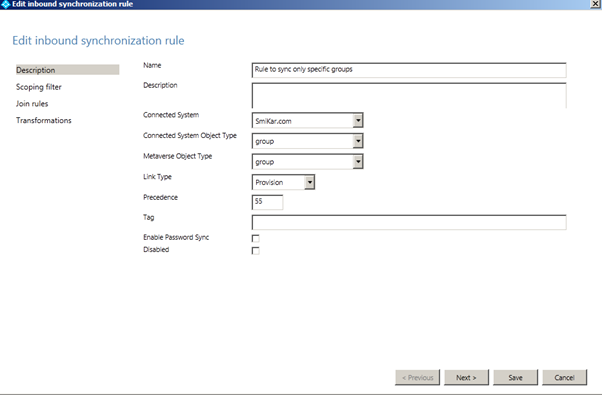
Give the rule a descriptive name and provide a description. I suggest something useful so when you come back in 3+ months it will make sense to you.
- Set the Connected System to your domain.
- Set the Connected System Object Type to User
- Set the Metaverse Object Type to Person
- Set the Link Type to Join
- Set the Precedence to 50 (or any value lower than the lowest value – if you haven’t created any other rules, then 50 will be fine).
- Click Next
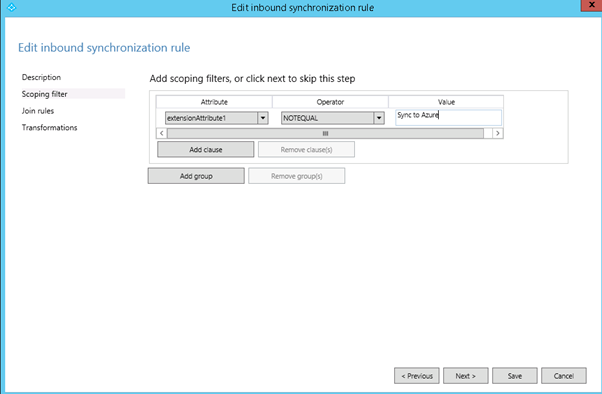
Click the Add Group button, and then the Add Clause button.

Set the Attribute to the attribute you selected as the “filtering attribute”. In our example, it’s extensionAttribute1.
Set the Operator to NotEqual
And enter the value to look for, which in our example is “Sync to Azure”.
Click Next.
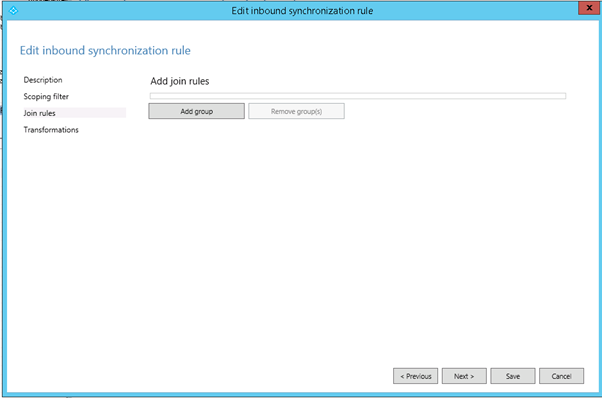
Click Next on the Join Rules window, as it’s not used with this rule.
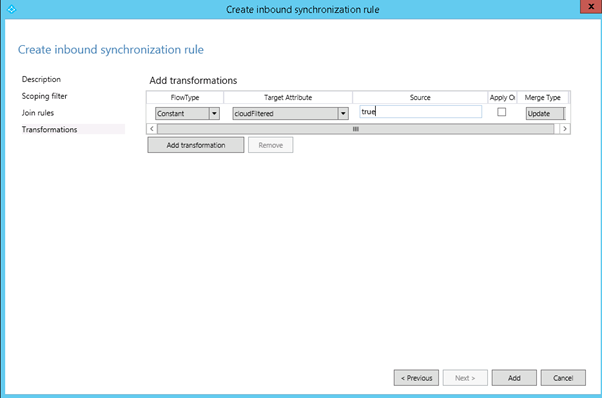
In the Transformations section, click Add transformation
- Set the FlowType to Constant
- Set the Target Attribute to cloudFiltered
- In the Source field, enter true
- Leave all other settings and click Add
The new rule should now appear at the top of the list.

OK, so that’s the Users rule done. Let’s move onto the Groups rule.
The groups rule is a little tricker, so instead of trying to create it from scratch, we’ll use the existing one.
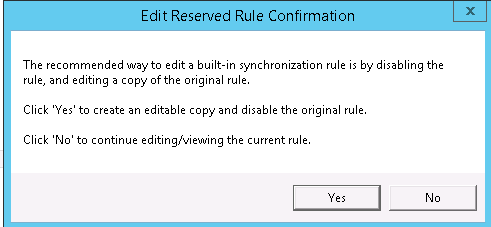
Select the In from AD – Group Join rule and click Edit.
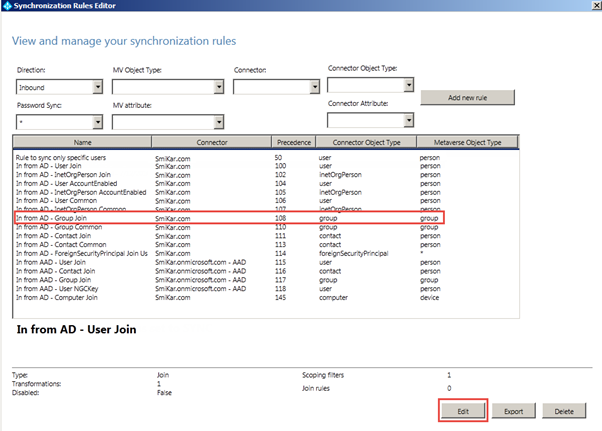
Click Yes to the message – which will disable the existing rule and create a copy for us to work with.
Give the rule a name and description.
Set the Precedence to 55.
Click Next
In the Scoping Filter section, select both of the existing clauses and click Remove Clause.
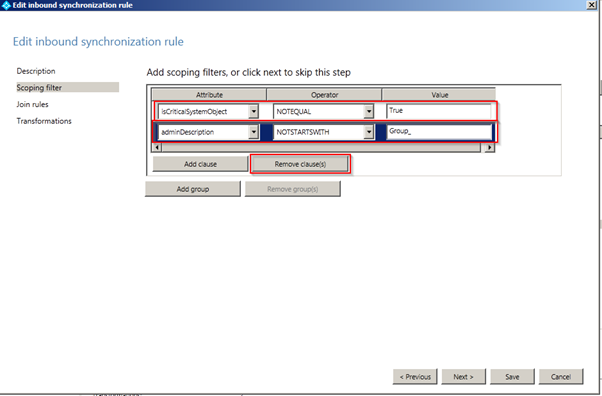
Once all the Clauses have been removed, click Add Clause.
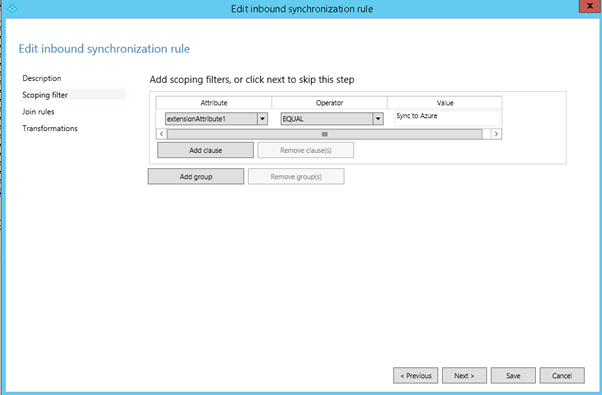
Set the Attribute to the attribute you selected as the “filtering attribute”. In our example, it’s extensionAttribute1.
Set the Operator to Equal (with the user rule we set it to NotEqual, but here we use the Equal operator).
And enter the value “Sync to Azure”, or whatever value you are using.
Click Next.
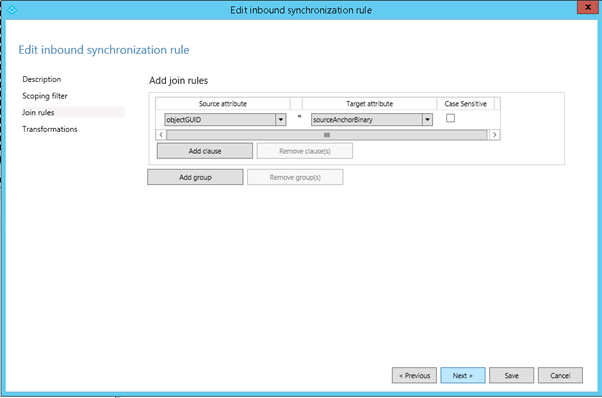
In the Join rules, ensure the Source Attribute is set to objectGUID and the Target Attribute is sourceAnchorBinary.
Click Next.
Leave the settings as default in the Transformations window and click Save.
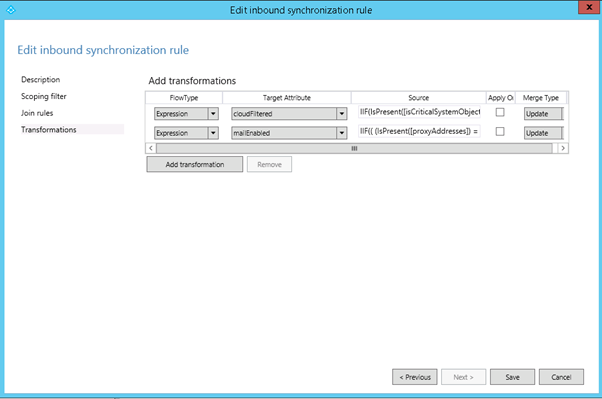
If you receive an expression warning, click Yes to continue saving the rule.
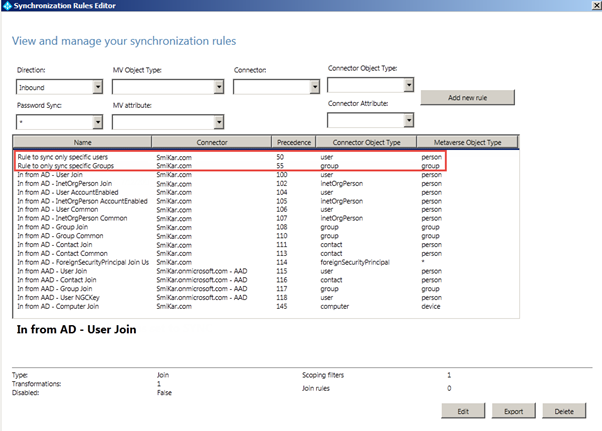
You should now have two rules in your rule set.
OK, now that we’ve made our rules, we need to kick off a full sync.
Open up a PowerShell console, and enter: Start-ADSyncSyncCycle -PolicyType Initial
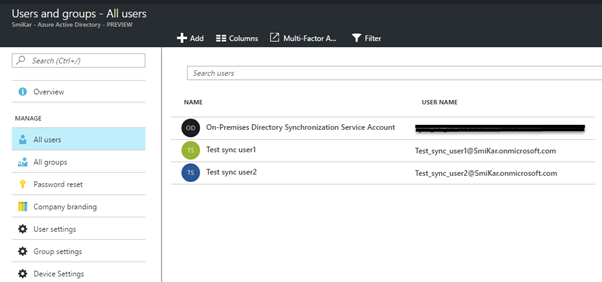
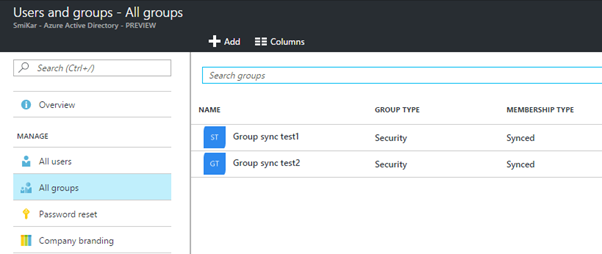
Once the sync finishes, log into the Azure or 365 portal and have a look under the Users and Groups sections.
As you can see, only my two test users have been synced
And in the groups, only my two test groups are synced too.
While you are here, please take the time to check out our software products for Azure, VMWare, Hyper-V and SCCM.